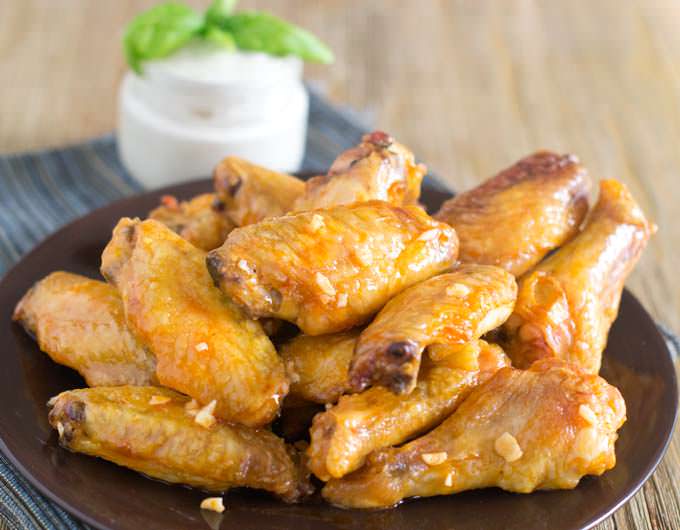
Toss out that deep fryer, just like last year’s jeans. We’ve got the solution to crispy chicken wings without the hassle of deep frying. These ones are baked but use a secret technique to make them extra crisp.
Raise your hand if you like chicken wings. Good. Now keep them up if you enjoy spending time in front of a deep-fryer while oil splatters all over the kitchen. Did I see a few hands go down? Mine sure did.
It’s been branded into our heads that chicken wings need to be deep fried to be crispy. However, after some research (and yummy taste-tests), we are proud to share our findings on how to bake chicken wings that are sooo crispy.
Scroll down to read more about how it all comes together or click here to jump straight down to the recipe.
Want To Save This Recipe?
Enter your email address & I’ll send this recipe straight to your inbox to save for later! Plus, you’ll get new recipe ideas from me every week!
Video: How To Make Crispy Oven Baked Wings
Why Use Baking Powder?
Were you surprised by the baking powder in that video? Unusual right? Stick with me as I go into the details.
Baking powder, not to be mistaken with baking soda, is a leavening agent usually used in baked goods such as cookies and cakes. It’s a mixture of sodium bicarbonate, cream of tartar and cornstarch. When mixed with salt and coated on chicken it dries out the skin, leaving it crisp and crunchy. Why does this happen? Get ready, science-y stuff ahead! It happens because the addition of the baking powder raises the pH level in the chicken, allowing the peptide bonds in the skin to break down, thus letting the skin get more crisp and brown.
“My son says they’re as good as from his fave wing shop!”
Melody, TheCookful reader
Note that while most of the comments below this post are very positive (people seriously love this method of baking crispy wings) a couple of commenters noted a bitter taste on their wings. I at first thought that they were using baking soda instead of baking powder. Doing so would definitely lead to a terrible taste. However, they claimed that they were really using baking powder for sure. I was stymied until another helpful commenter posted this link showing that some people are sensitive to a flavor that is found in some brands of baking powder.
Baking powder that contains “sodium aluminum sulfate” has a bitter taste to some people. If you notice this flavor, you’ll want to try a different brand of baking powder. The Rumford brand is aluminum-free, so do try that one. I haven’t yet done a taste test comparison using the two different types of baking powder but I will soon and then I will report back with my results here.
You can also use this method with other cuts of chicken, like these amazingly crispy Baked Chicken Drumsticks.
How To Bake Crispy Chicken Wings, Step By Step:
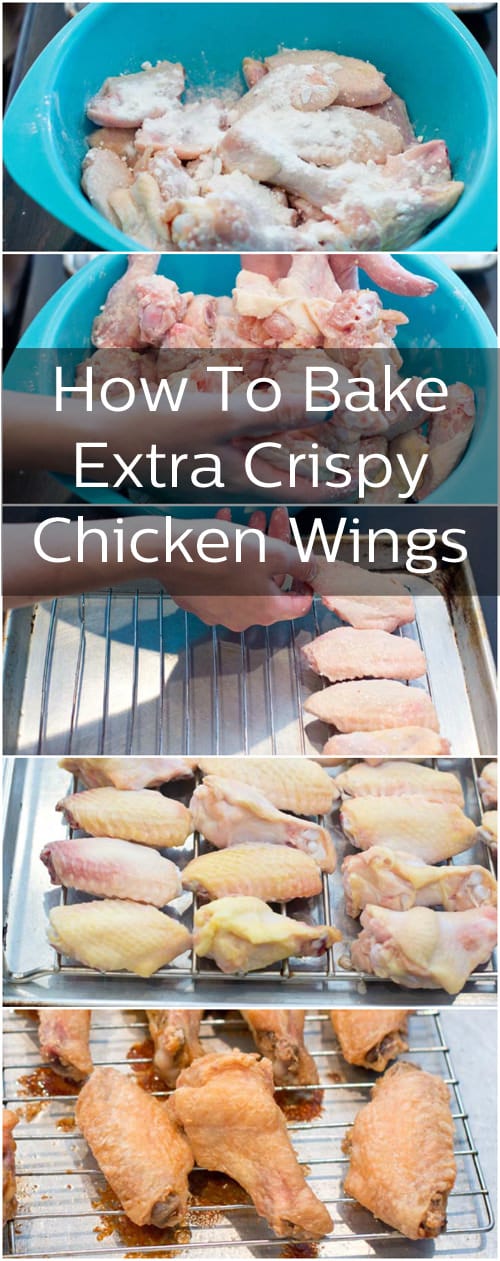
Step #1 Cut Wings and Add Baking Powder
Cut up 10 whole chicken wings. (When you cut ten wings, you end up with 30 wing pieces. That’s 10 drumettes, 10 flaps and 10 wing tips. You’ll either discard the wing tips or save them for another use. That leaves 20 wing pieces that you’re using here.
Note: You can leave the wings whole if you prefer and it won’t affect the cooking time. I think they area little more awkward to eat though.
Once they’re all cut up, put them into a big bowl. Sprinkle with 1/2 teaspoon of salt and 1 tablespoon of aluminum-free baking powder (and NOT baking soda!). It doesn’t seem like much but you’re not trying to make a coating for the wings here. You’re trying to change their ph level so that they will crisp up better.
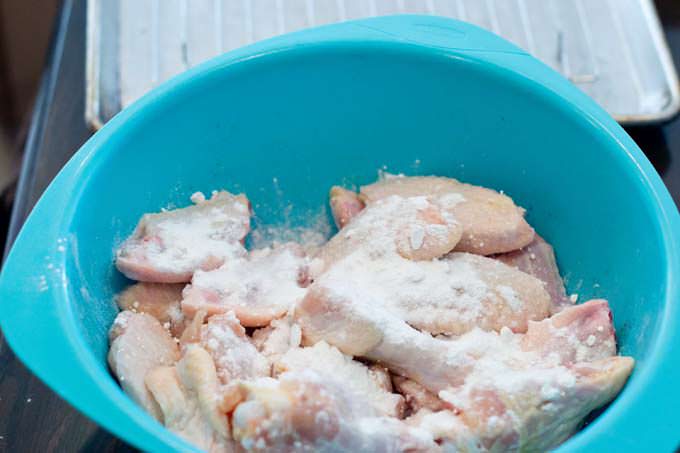
Step #2 Mix to Coat Chicken Wings
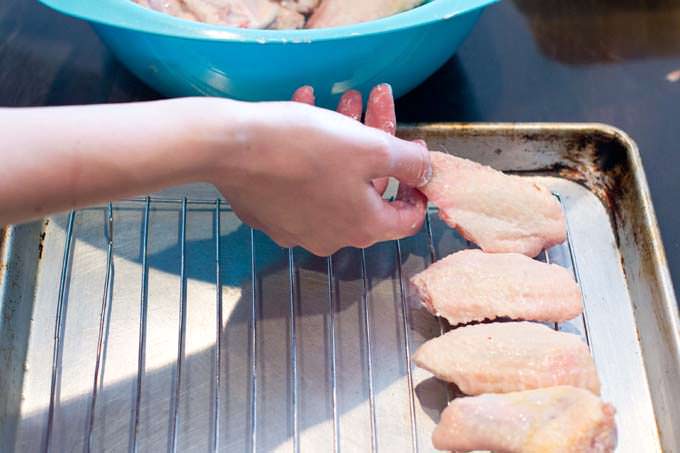
Mix it up. Don’t be afraid to use your hands. It’s way easier and one less thing to wash. It’s gobs of fun too! (Hey look! My nails match the bowl! This was unplanned but I like it).
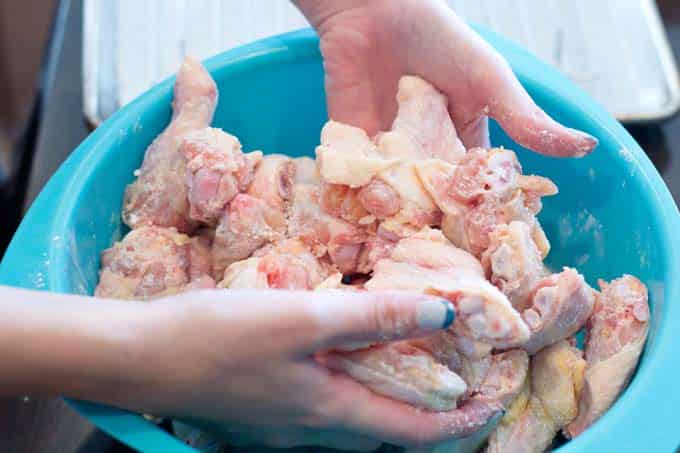
Step #3 Set Up Baking Sheet
Line a baking sheet with aluminum foil to make clean up easier. Then set an oven-safe metal rack onto the baking sheet. Spray the rack with cooking spray to help prevent the chicken from sticking. Place the wings on the rack.
The rack is really helpful for crisping the wings because it allows air to circulate all around the chicken pieces so that they get evenly crisp. It also lets the fat drip away from the chicken, leading to crispy, crispy, crispy skin.
Step #4 Par-Bake Wings at Low Temperature
Place the chicken in a 250°F oven for 30 minutes. This gets some of the fat rendered from under the skin and starts that drying out process. Here’s how they look after 30 minutes. These are not cooked. Do not eat them. Yet.
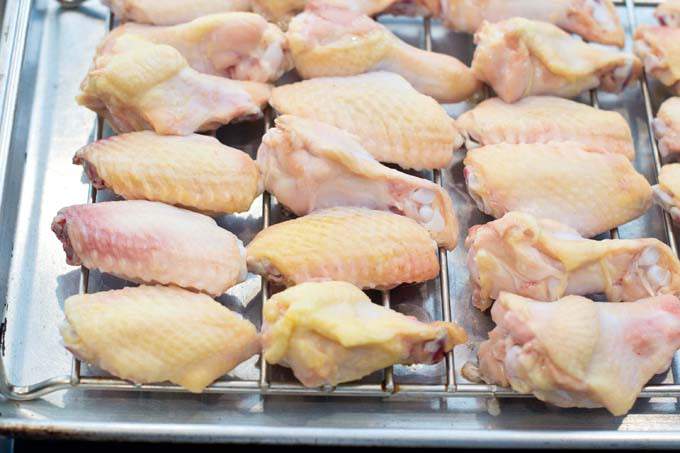
Step #5 Bake Chicken Wings till Crispy
Leave them in the oven and crank the heat up to 425°F and cook 40-50 minutes more, until golden brown and so crispy. If your wings are smaller, skinnier ones, you will likely only need to cook them for 30 minutes at this step. If they’re crispy on the outside and their internal temperature is 165°F, they’re done.
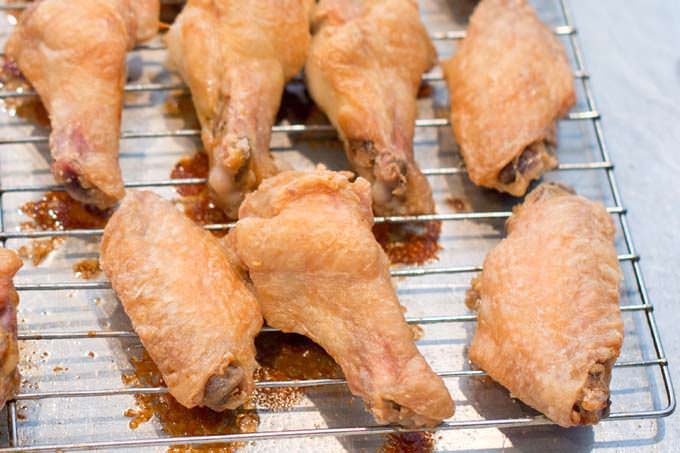
Step #6 Add Sauce and Eat!
Toss them in a super-amazing sauce. We’ve got one for you…
This easy decadent homemade Buffalo sauce will blow your mind!
And then you’ll need a great dip. I’m partial to ranch. You can grab a bottle at the store, or make your own with fresh herbs like this, or make homemade ranch seasoning with ingredients from your pantry and stir together 1 cup of sour cream with 1 tablespoon of the seasoning. It’s so fresh-tasting and delicious!
Wasn’t that easy? And no pot full of hot oil to dispose of either. So awesome. Scroll down to find the printable version of the above instructions.
Oh, and if you love these, you should try brining your chicken wings first! I brine them in a water, salt, AND baking powder solution and then cook the wings in the same way as this recipe. So good.
More Chicken Wing Recipes
Podcast Episode: Baking Chicken Wings
Listen to me explain briefly about how to make this recipe, with some great tips along the way, by clicking the play button below:
Listen to more Recipe of the Day episodes here.
Print
Crispy Oven-Baked Chicken Wings Recipe
Toss out that deep fryer, just like last year’s jeans. We’ve got the solution to crispy chicken wings without the hassle of deep frying. These ones are baked but use a secret technique to make them extra crisp.
- Prep Time: 5 minutes
- Cook Time: 1 hour 20 minutes
- Total Time: 1 hour 25 minutes
- Yield: 20 wings 1x
- Category: Entrée
- Method: Baked
- Cuisine: American
Ingredients
- 10 whole chicken wings, cut into flats and drumettes (here’s how to do it). Discard tips or use for a stock. That leaves you with 20 wing pieces total
- 1 Tbsp. aluminum-free* baking powder (NOT baking soda)
- 1/2 tsp. salt
- Sauce or dry rub
Instructions
- Preheat oven to 250°F.
- Line a cookie sheet with aluminum foil. Place a oven-safe rack on top of cookie sheet. Spray rack with cooking spray or lightly oil it.
- In a large bowl, use your hands to toss the flats and drumettes with the baking powder and salt until chicken is evenly coated. But do not add extra baking powder. Just mix them so they all have some.
- Place wings on the prepared rack in single layer. Transfer rack with the cookie sheet under it to oven and cook for 30 minutes. This baking at a low temperature dries the wings out and allows the baking powder to penetrate.
- After 30 minutes, leave the wings in the oven but raise the heat to 425°F. Continue to cook until brown and crispy, 40-50 minutes.**
- Take wings out and let rest 5 minutes. Toss in a delicious sauce like this one and serve.
Love this recipe? I’d appreciate it if you could scroll down and add a *5 star rating* to help others know they’ll love it as well!
Notes
This post originally appeared in January 2016 and was revised and republished in January 2024.
