Learn how to make homemade mini marshmallows from scratch. Your hot chocolate will love you for it!
Homemade marshmallows are admittedly a tad time-consuming. But they taste loads better than store-bought. It’s also a really cool process to make them.
If you’re the kind of cook who likes trying new techniques and getting in there to see how something’s made, this project is all you.
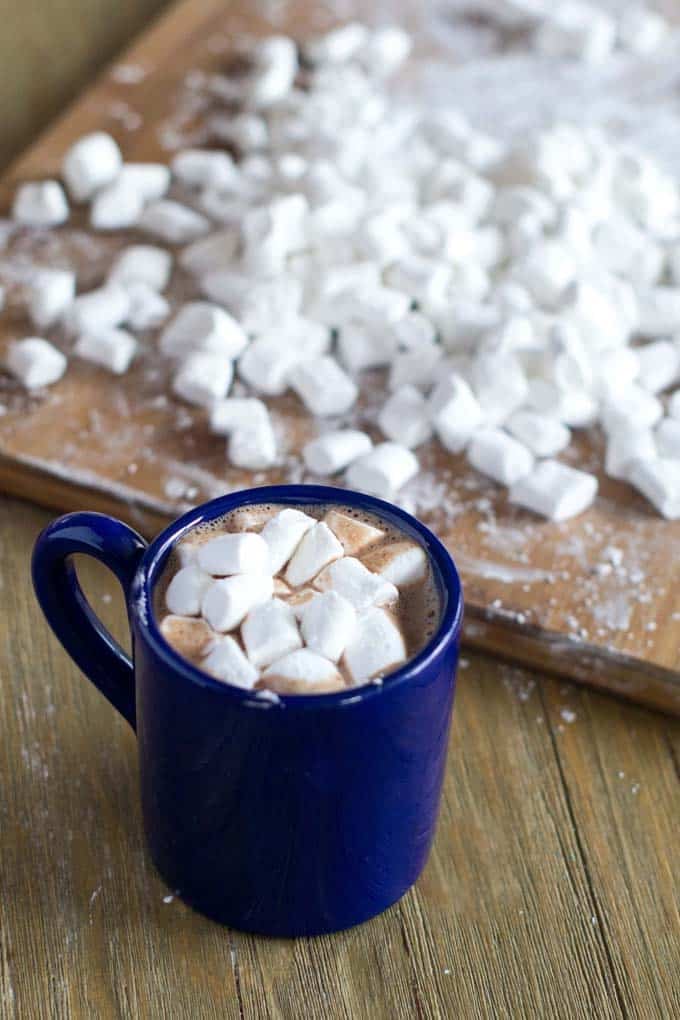
Video: Making Homemade Marshmallows
How To Make Homemade Mini-Marshmallows
(The printable instructions with ingredient amounts are at the bottom.)
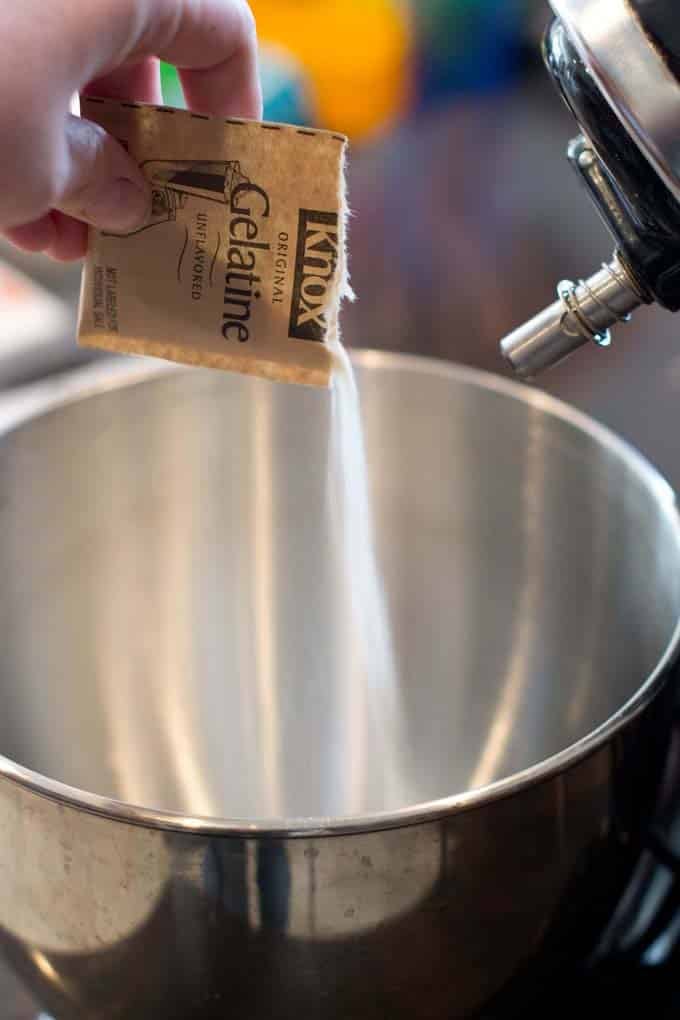
To a stand mixer, add unflavored gelatin powder.
Ice down some water. Then measure it, being sure not to include any ice cubes.
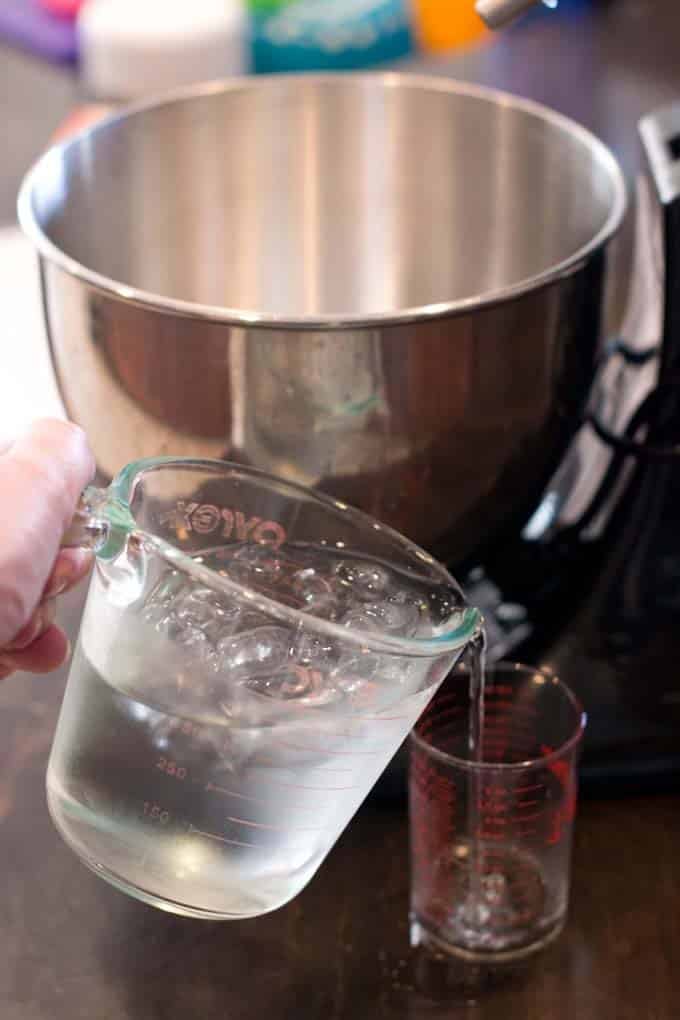
Pour it into the mixer with the gelatin!
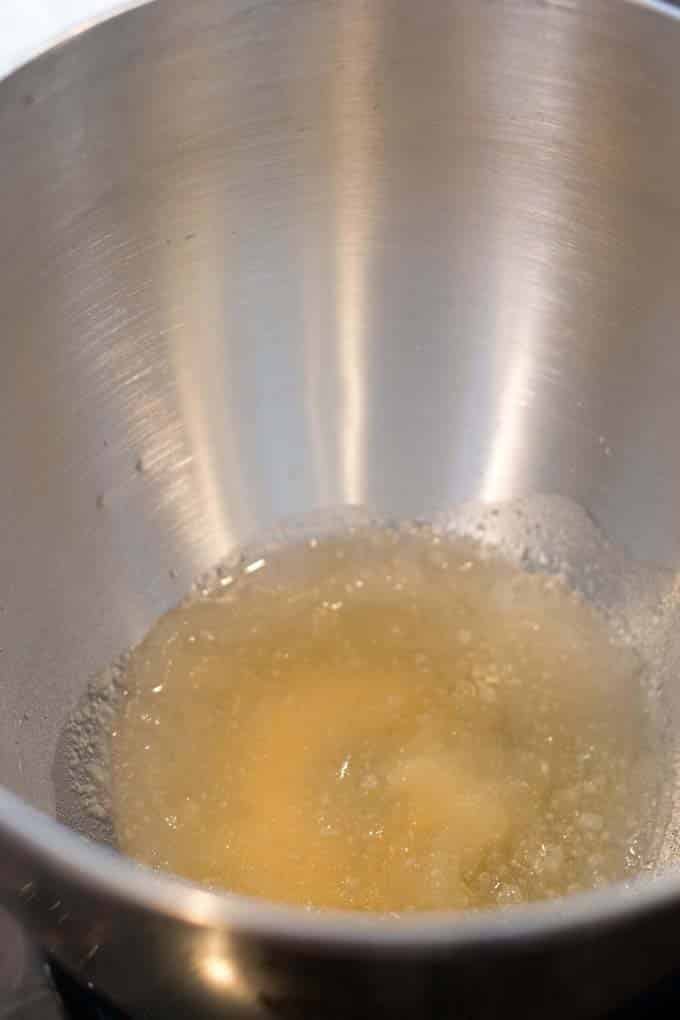
Now hands off. Let the gelatin bloom while you work on your candy syrup.
Oh, but do get that whisk attachment all set up and ready. Just don’t turn it on yet.
OK, that candy syrup: To a small saucepan add granulated sugar.
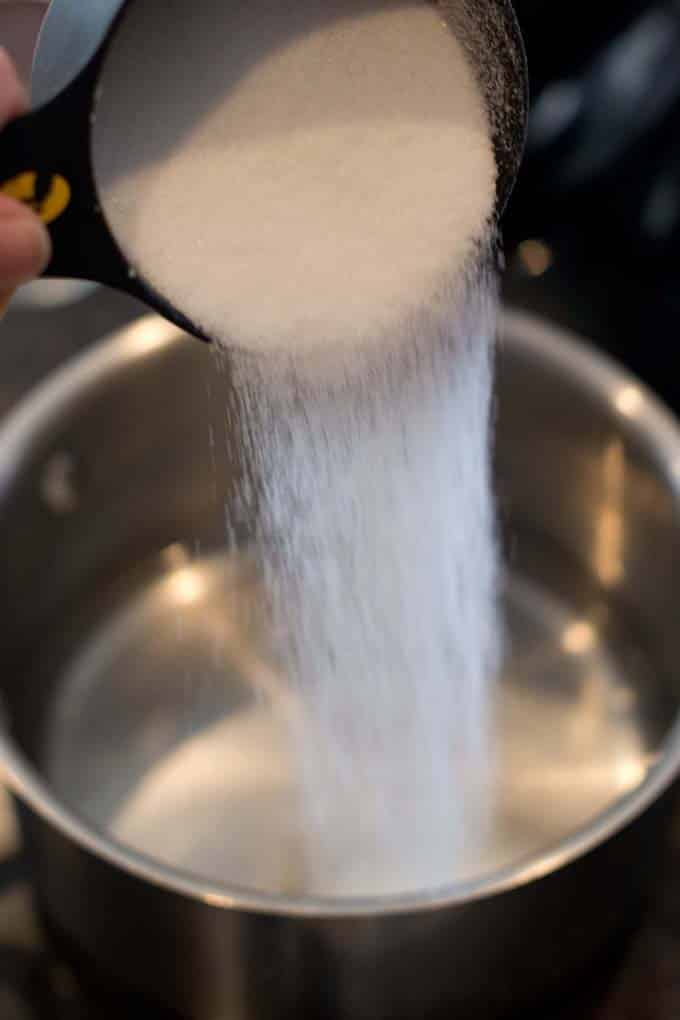
Add in some light corn syrup. This is used to prevent the sugar from crystalizing and making a crunchy and hard marshmallow, yuck.
Cover and cook on medium-high for 5 minutes.
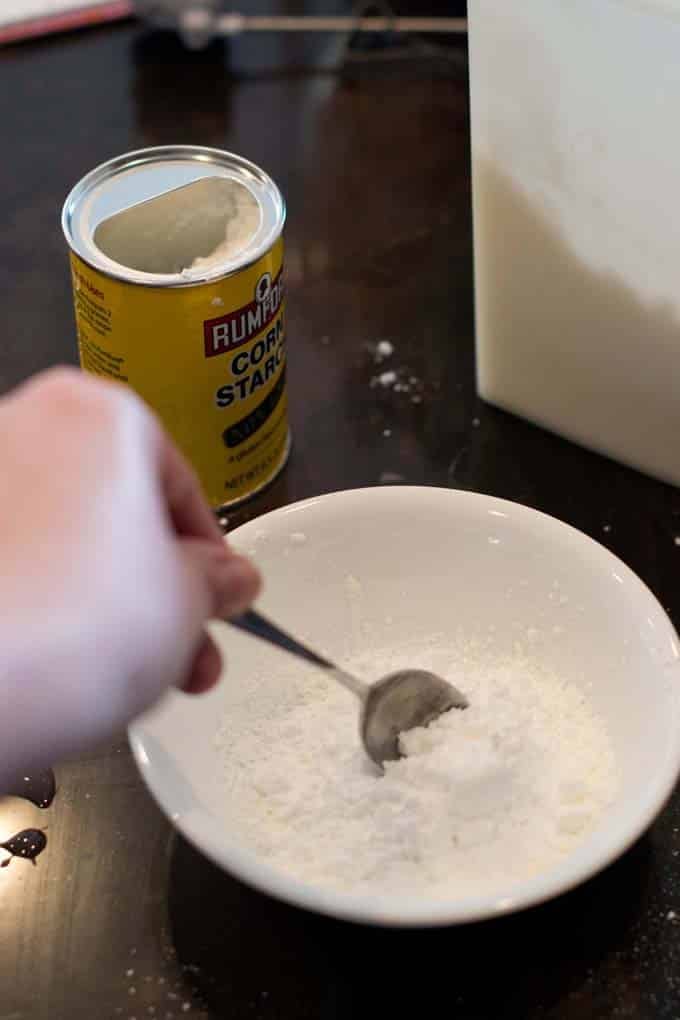
Meanwhile, in a separate bowl add cornstarch. Mix in some confectioner’s sugar (a.k.a. powdered sugar or icing sugar). Set this aside. You’ll need it later on. (It’s going to be used for dusting the marshmallows to stop them from sticking to everything.)
After the 5 minutes, uncover the saucepan.
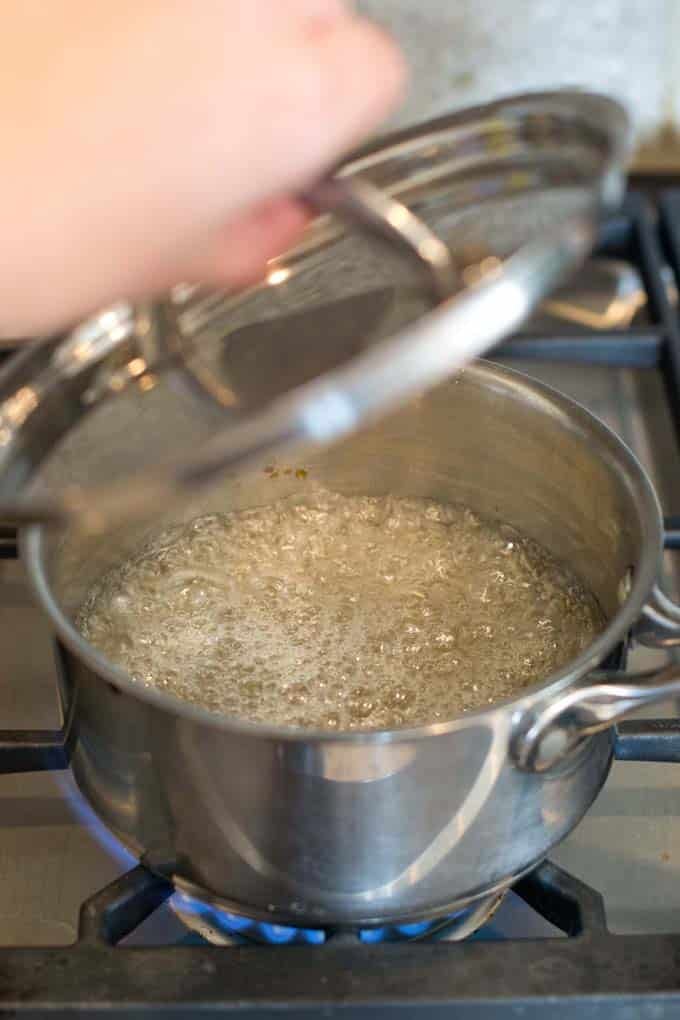
Use a candy thermometer and watch the numbers closely. 240°F is the magic number you are looking for. Once it reaches this, take it off the heat immediately.
Let’s go back to the gelatin. It’s all bloomed by now as should look like the photo below.
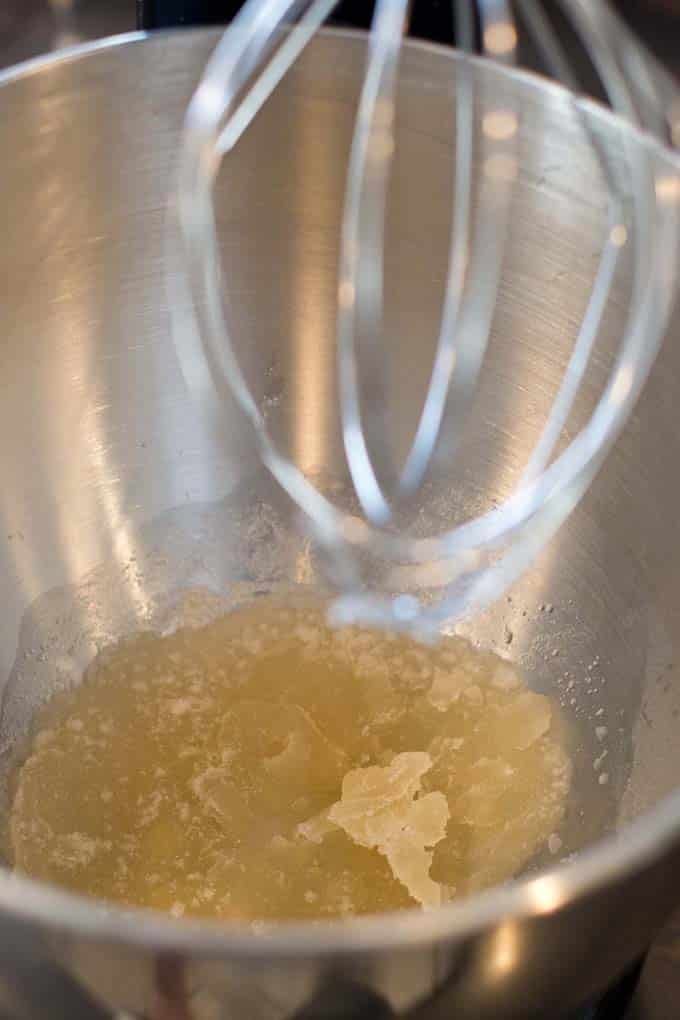
With the mixer running, slowly pour in the candy syrup down the side of the bowl. Don’t splash too much otherwise the candy will start to set up, leaving crunchy little bits.
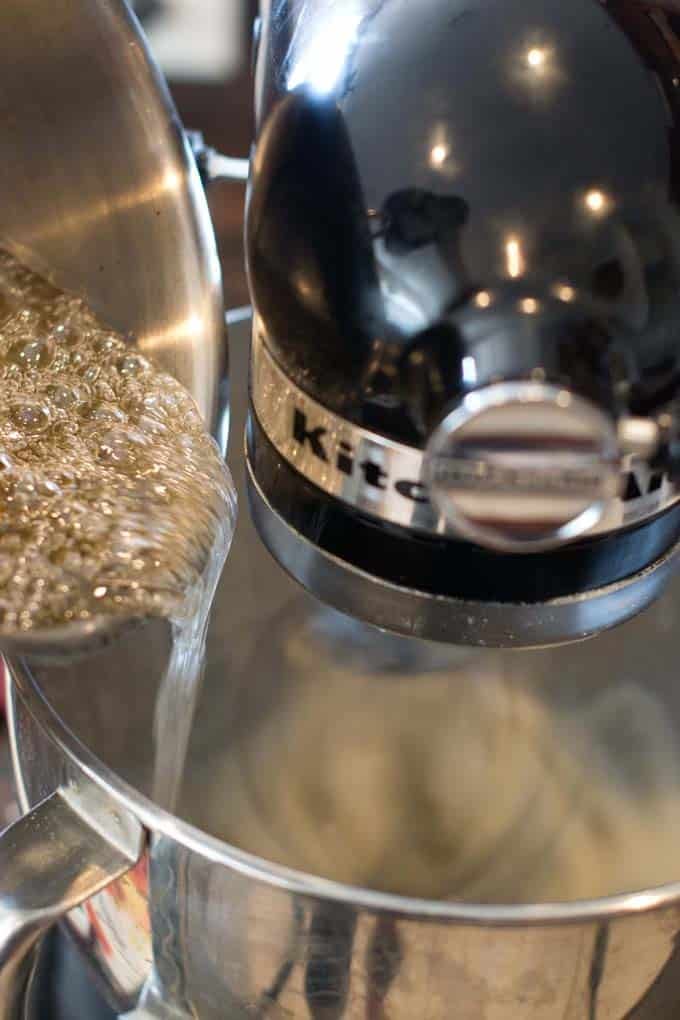
Turn up the speed, full blast!
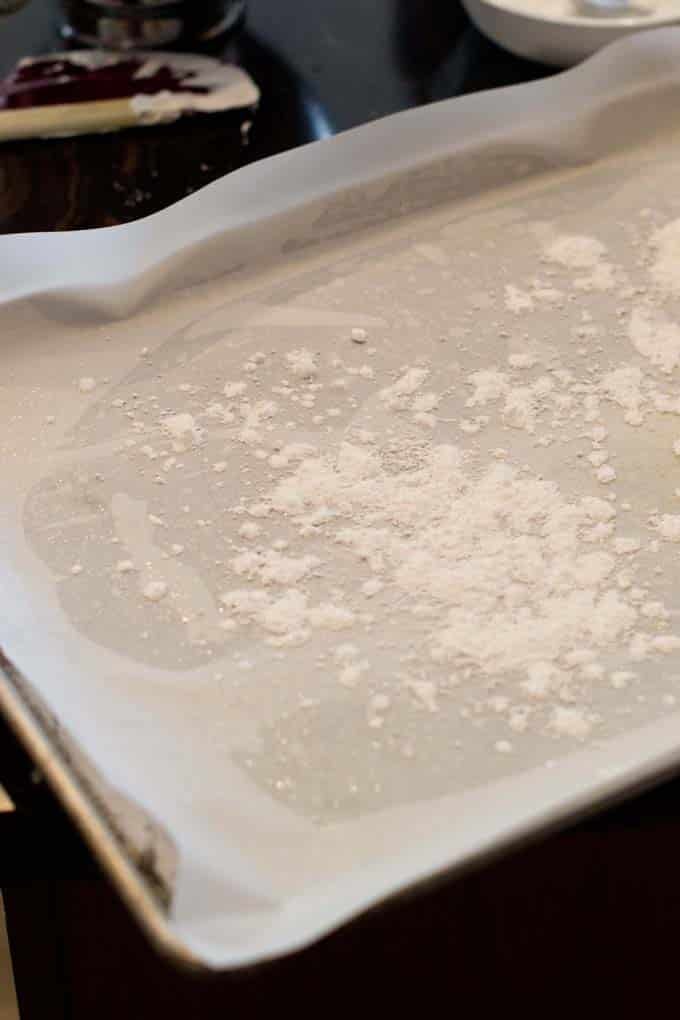
While the mixer is running, spray a parchment lined 13X9 pan with cooking spray.
Remember that cornstarch mixture from earlier? Sprinkle a little bit of that onto the pan.
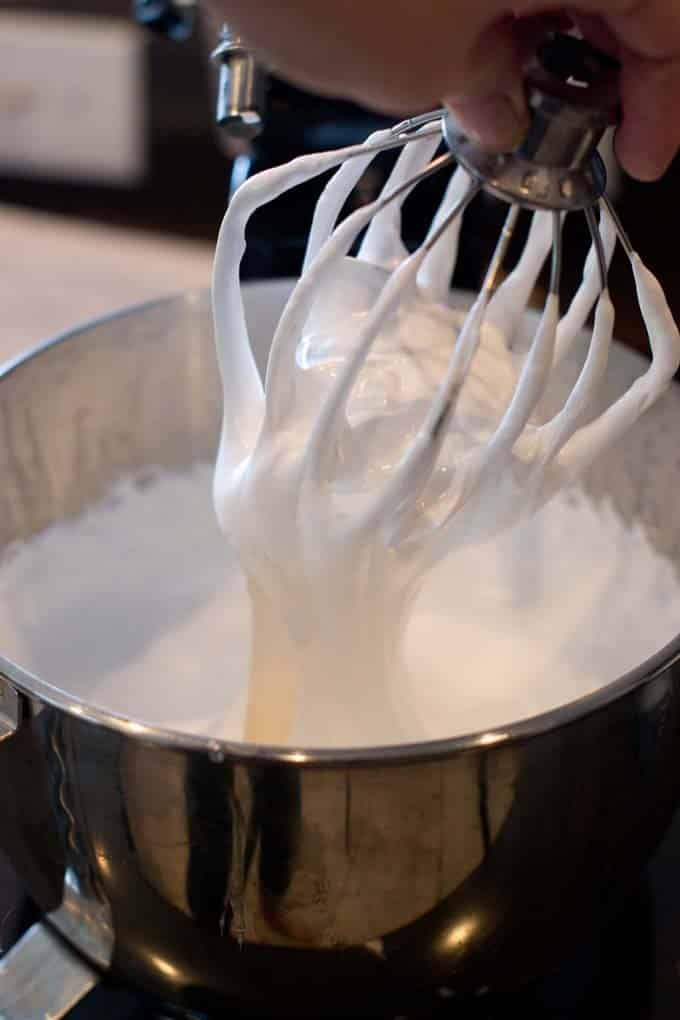
Looks like the marshmallows are all mixed! It takes about 12-15 minutes. You want a nice thick sticky mixture that is still slightly warm.
Use an oiled spatula to transfer the mixture to a ziploc bag or a pastry bag. I use cooking spray to oil the spatula. And keep that spray it handy. You can spray the spatula more (even spray onto your marshmallow coated spatula, that’s fine!) if it starts sticking some more.
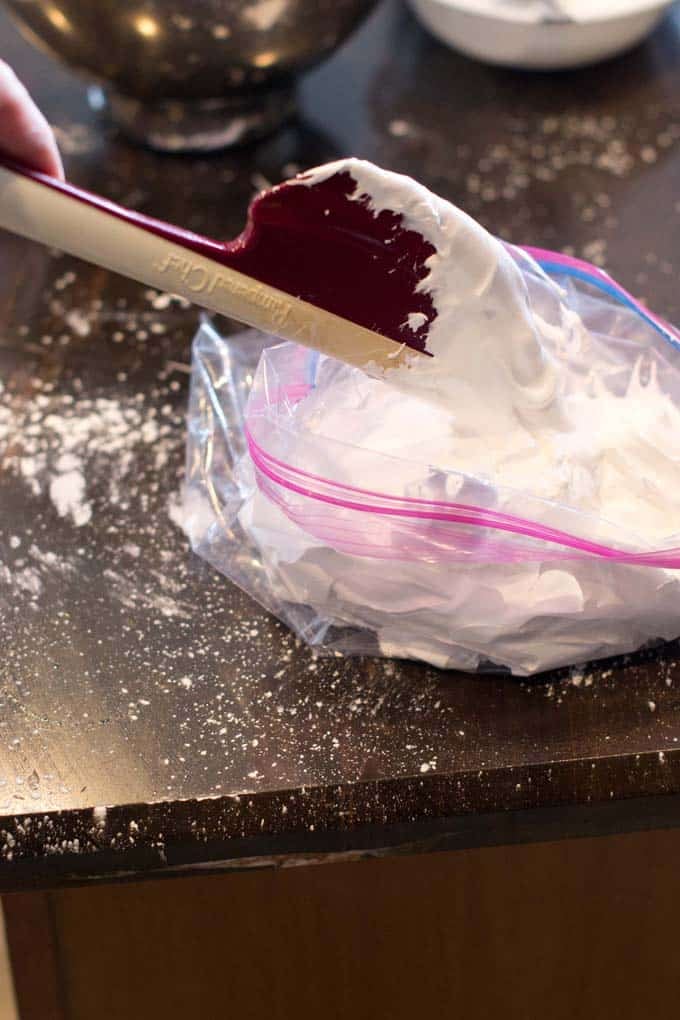
Squeeze all the marshmallow into the bottom of the bag then snip off the end. You want it a bit bigger than 1/4-inch.
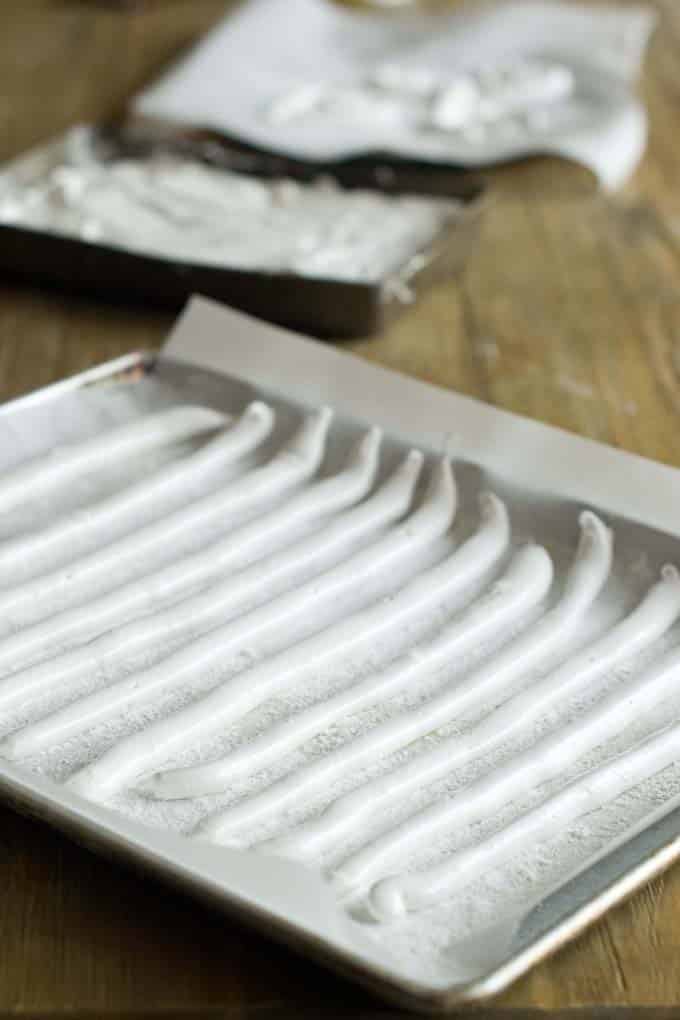
Pipe equal lines on the parchment-lined sheet pan.
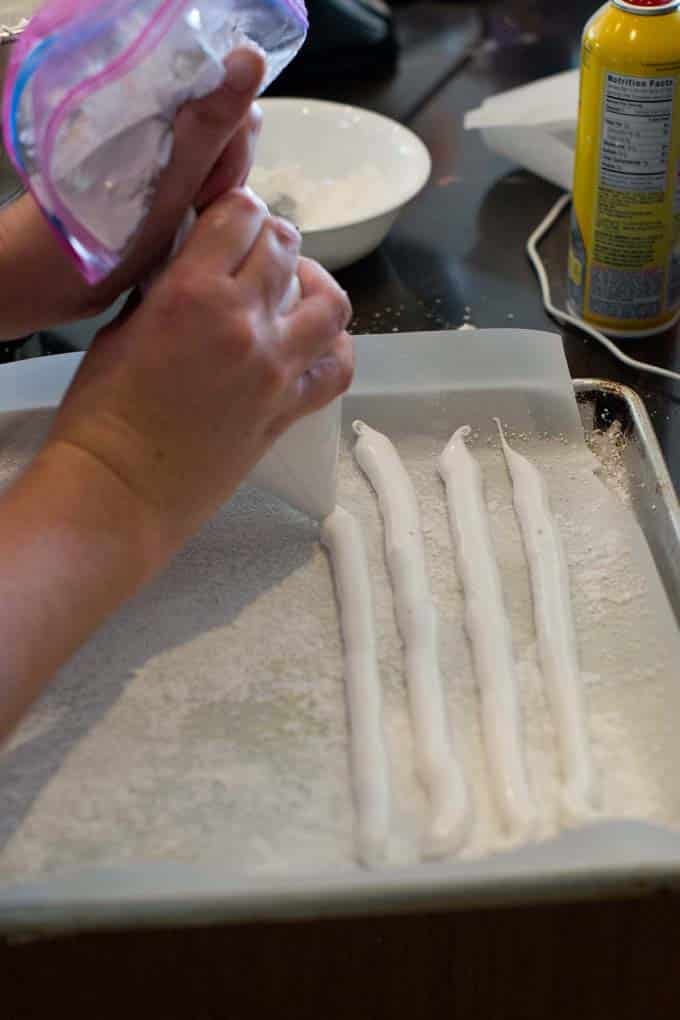
Dust with cornstarch and powdered sugar mixture. Let the marshmallows sit for 4 hours or overnight.
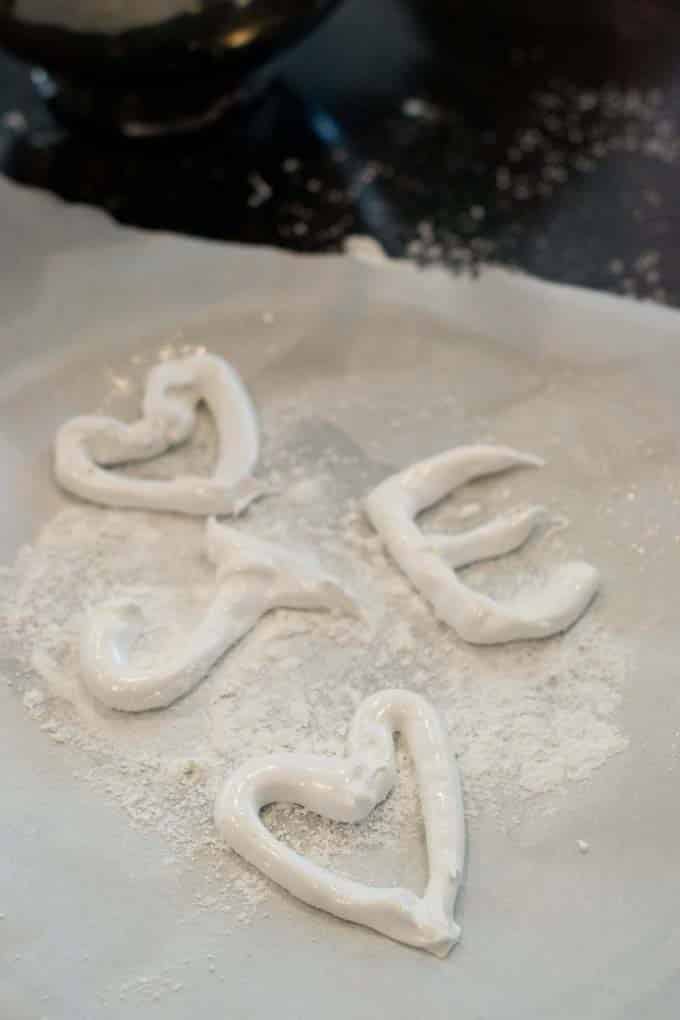
You can also be creative and pipe out some fun designs. The key is to have oil on your hands as you squeeze out the marshmallow. Your oiled fingers can then move and place the stream more easily into fun shapes. If you’re doing a lot of shapes like this, put a small bowl with oil in it near where you’re working. That way you can keep dipping your fingers in as needed.
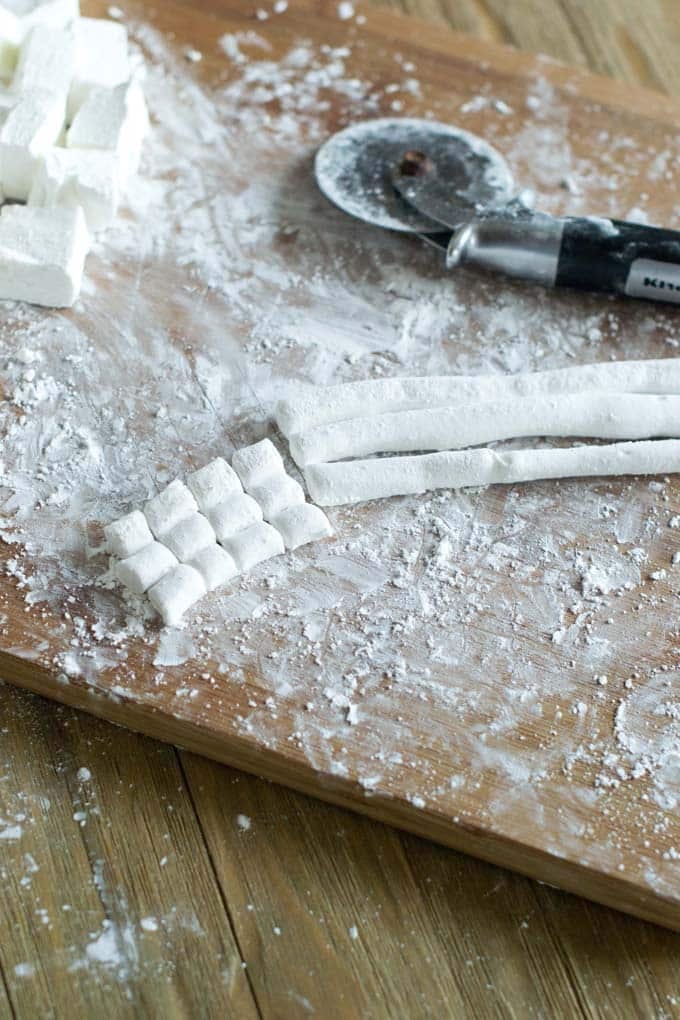
After the marshmallows are ready, use a pizza cutter to slice. Start with a single strip by itself. This will give you an idea of the size you want.
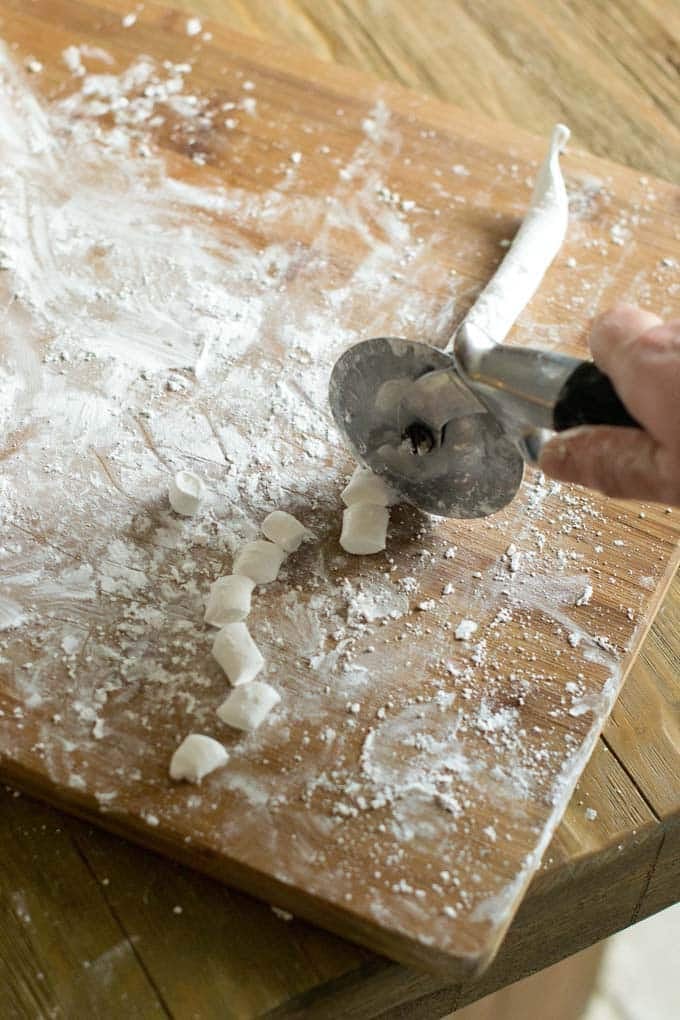
Then line up 4 or five strips.
Cut, cut, cut!
Separate the marshmallows.
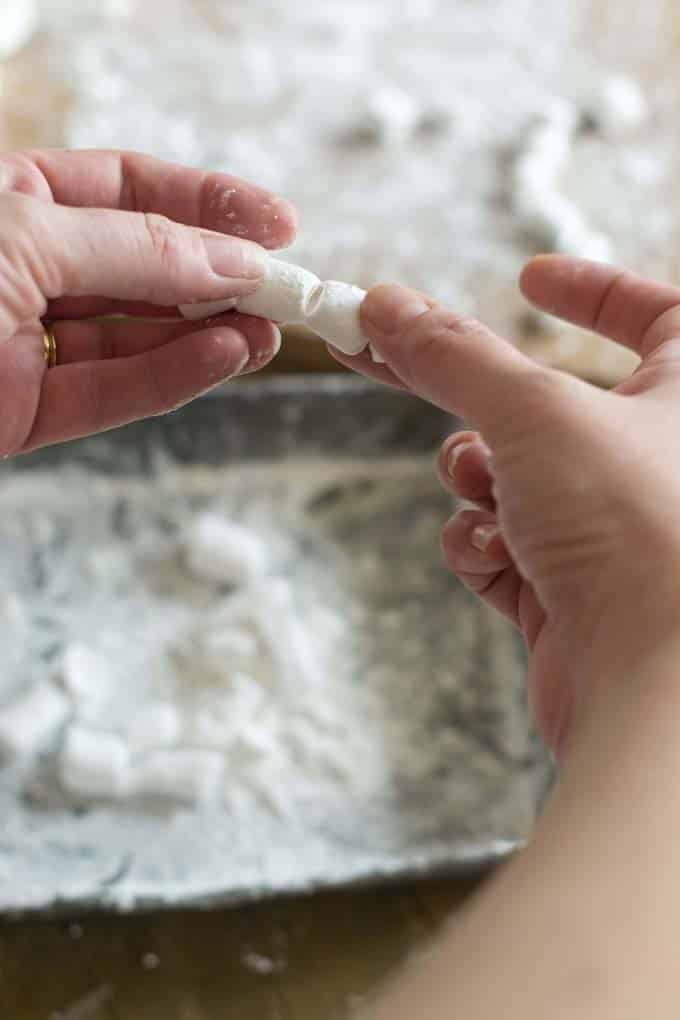
Toss the marshmallows with more of the cornstarch mixture.
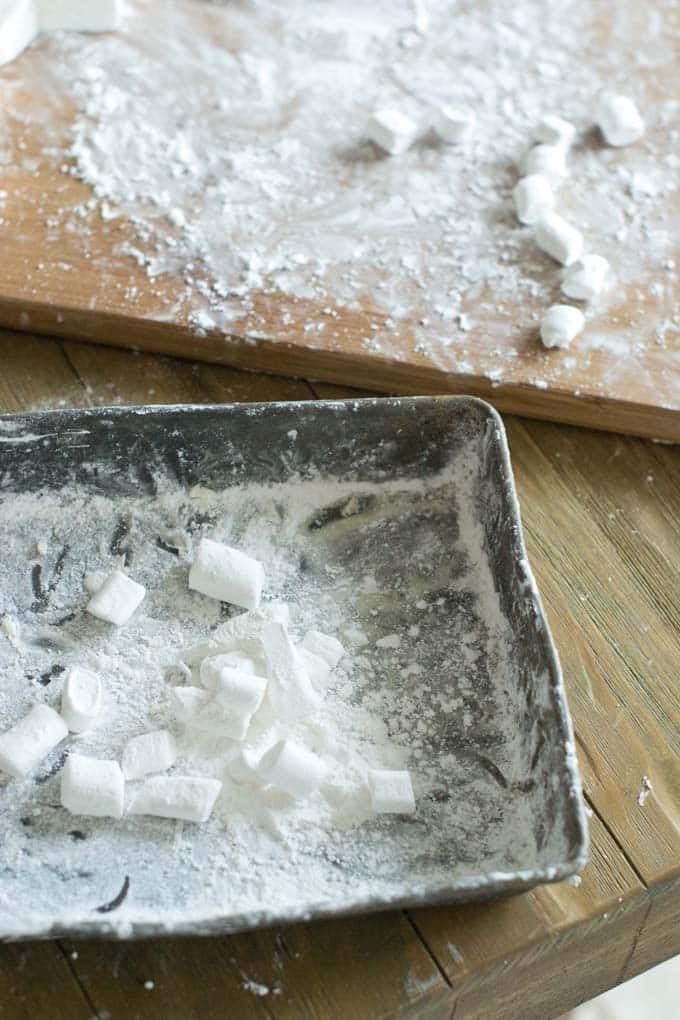
Make a mug of hot cocoa and plop them in!
Making BIG Marshmallows
Oh, wait, if you want BIG marshmallows in your hot chocolate there’s another method you can use. This is actually less time-consuming than the mini-marshmallows. First start off by spraying a 13X9 pan.
Dust with the cornstarch mixture. Make sure to get it in all the nooks and crannies.
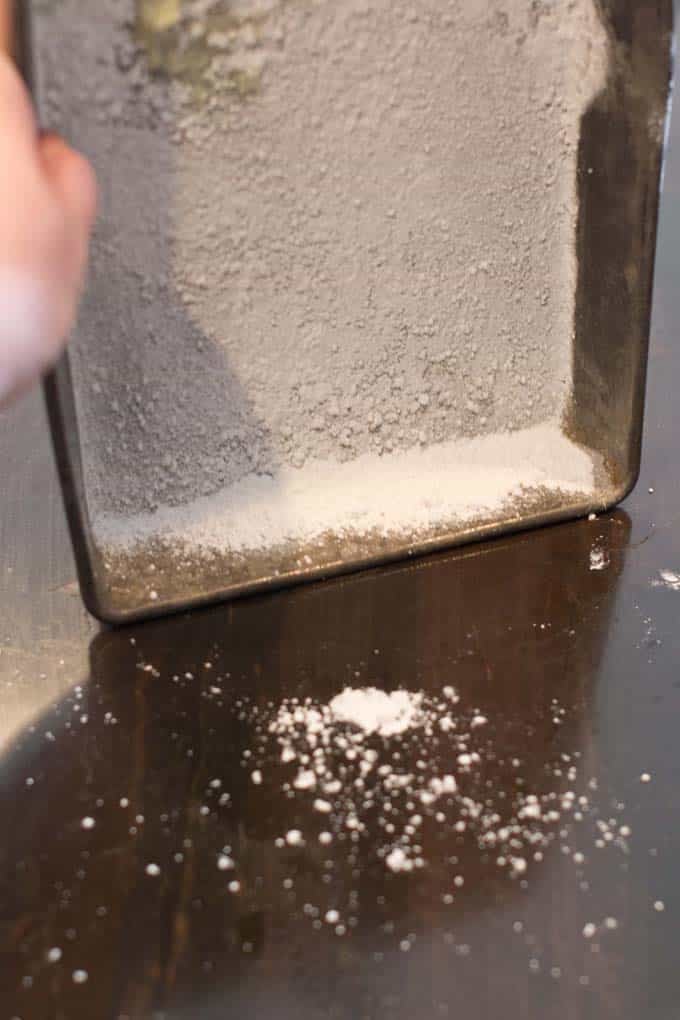
Spread the marshmallow mixture in the pan. Again, you’ll want an oiled spatula for this.
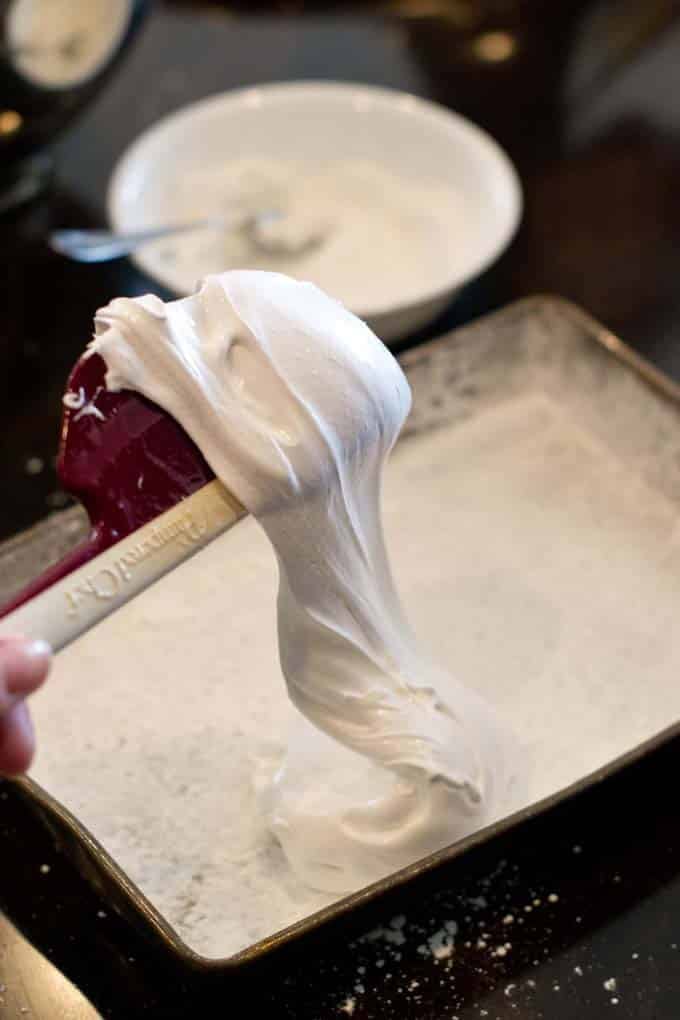
And spray it some more to make spreading easier.
Spread it alllll even.
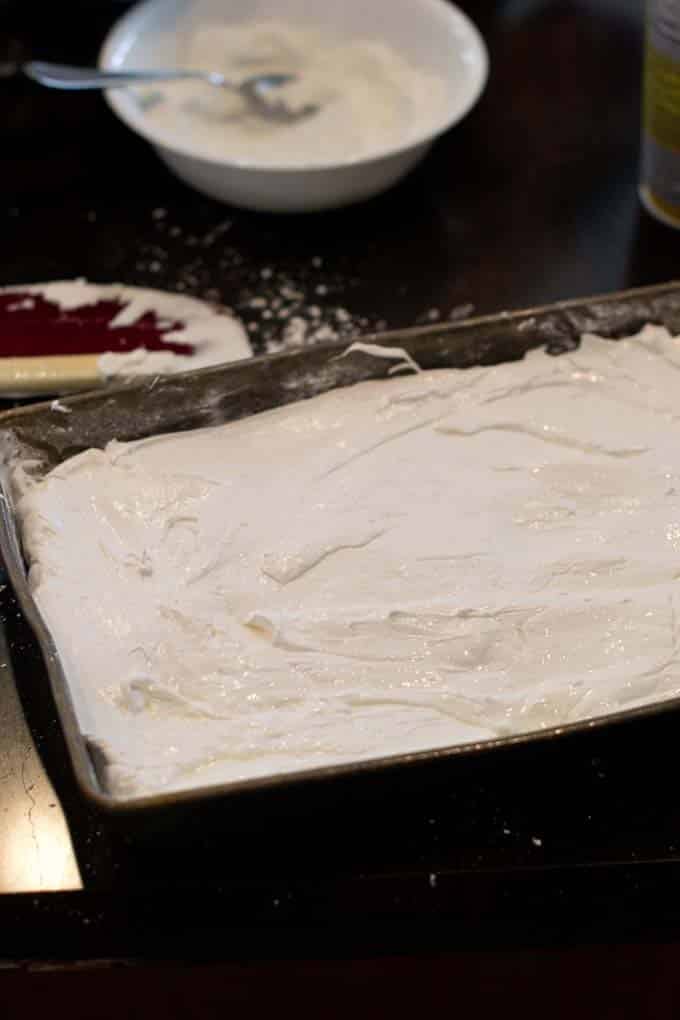
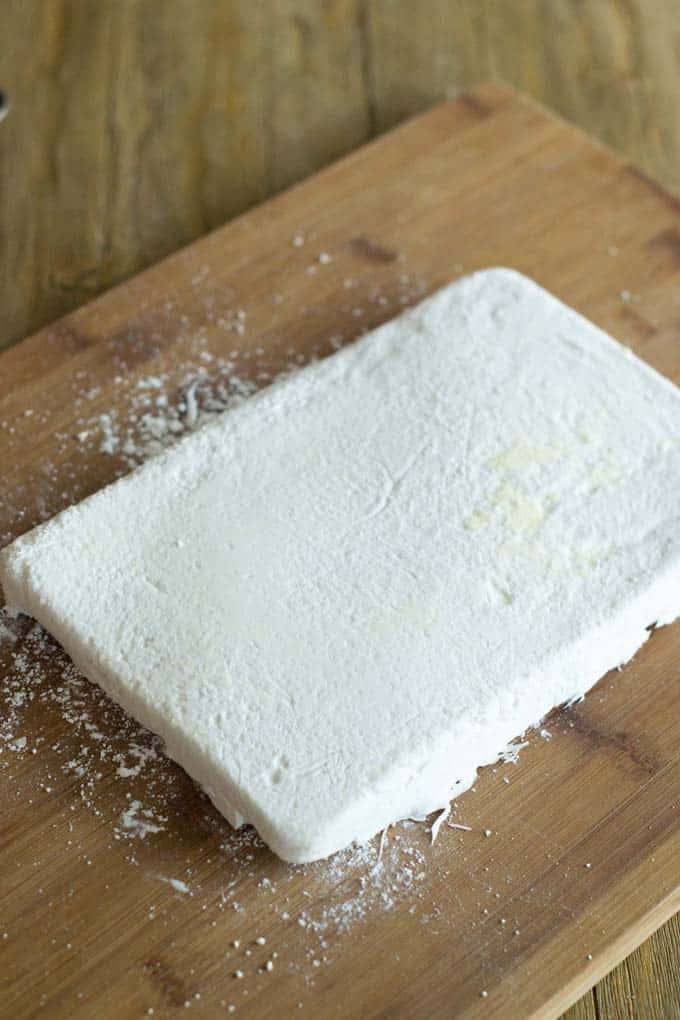
After letting the mixture set for 4 hours or overnight, flip the pan over.
Now that’s one giant marshmallow!
Cut strips with a pizza cutter. You decide the size.
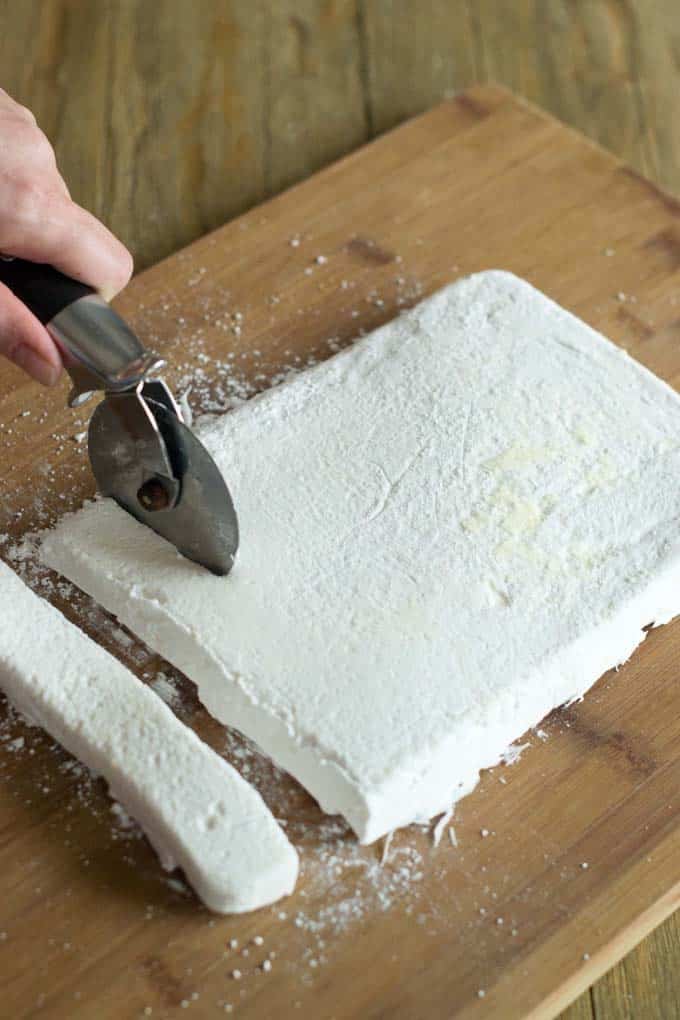
Then cut the strips into squares. Look at them all!
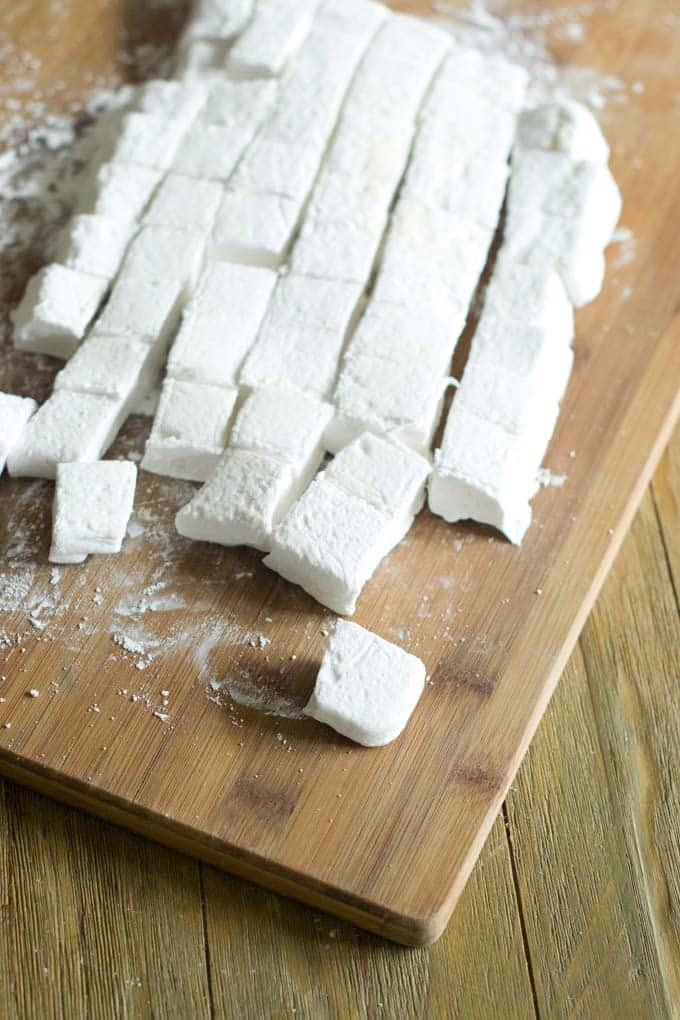
Toss with more of the cornstarch mixture to prevent sticking.
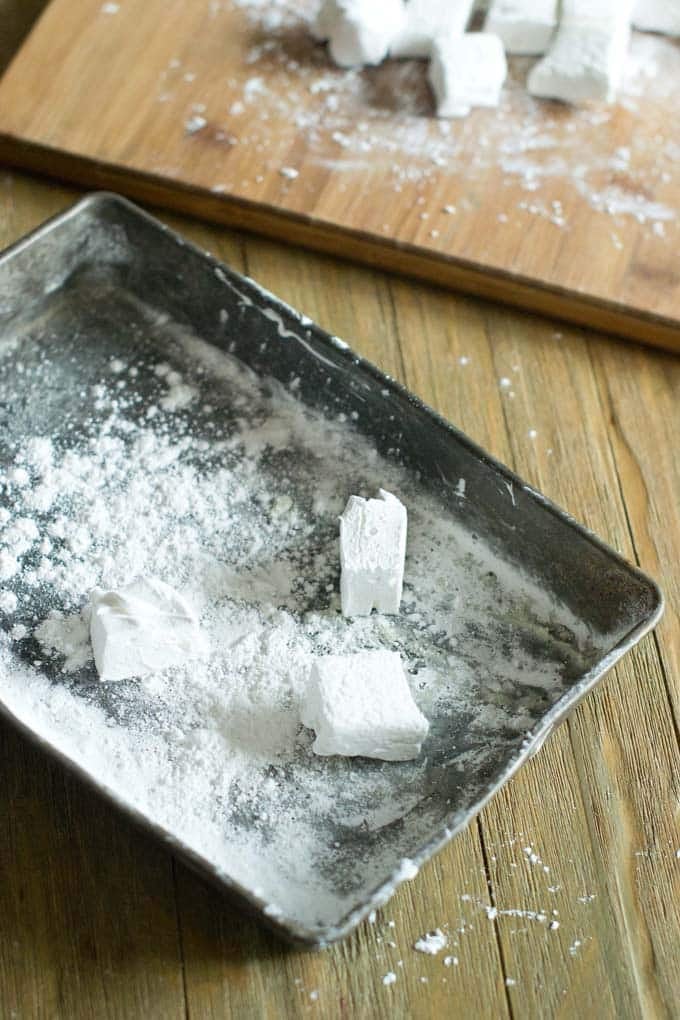
Then, it’s time to enjoy them!
Print
Homemade Marshmallow Recipe
Find out how to make these homemade mini marshmallows from scratch. Your hot chocolate will give you a big Mwah!
- Prep Time: 1 hour
- Setting Time: 4 hours
- Cook Time: 10 minutes
- Total Time: 5 hours 10 minutes
- Yield: 1 and 1/2 pounds mini marshmallows 1x
- Category: Dessert
- Method: Stovetop
- Cuisine: American
Ingredients
- 3 packets unflavored gelatin
- 1/2 cup ice cold water
- 1 and 1/2 cups granulated sugar
- 1/2 cup water
- 1 cup light corn syrup
- 1/8 tsp. salt
- 1/2 cup confectioner’s sugar
- 1/2 cup cornstarch
- Baking spray
Instructions
For Big Square Marshmallows (Easy)
- In stand mixer, mix together gelatin and 1/2 cup ice cold water and let bloom while you make the sugar syrup. Attach whisk but do not turn on.
- In small saucepan add 1/2 cup water, sugar, light corn syrup, and salt. Turn the heat up to medium-high and cover, cooking 5 minutes. Uncover and place a candy thermometer into the mixture. Cook mixture until it reaches 240◦F. Remove immediately.
- Turn mixer on low speed. While mixer is running, slowly stream in sugar mixture down the side of the bowl. Increase speed to high once the sugar mixture is added and whip until thick and lukewarm in temperature, about 12-15 minutes.
- In small bowl combine confectioner’s sugar and cornstarch. Set aside.
- Spray a 13×9 pan and coat the sides and bottom with some of the cornstarch mixture. Set aside.
- Add marshmallow mixture to pan and spread evenly with a lightly oiled rubber spatula. Dust top with cornstarch mixture. Let set for 4 hours or overnight. Do not throw away cornstarch mixture because you still need it later on.
- Turn marshmallows onto cutting board and use a pizza cutter to cut into squares. Dust all sides with cornstarch mixture.
For Mini Marshmallows (Moderately Difficult)
- Line 4 sheet pans with parchment paper and spray with baking spray. Dust with cornstarch powder.
- Put mixture in ziplock bag (or piping bag) and cut one corner to desired width of marshmallow. Pipe straight lines, leaving an inch of room between strips. Sprinkle with cornstarch mixture.
- Set 4 hours or overnight. Using a pizza cutter, cut into 1/2 inch pieces. Dust again with cornstarch mixture to coat.
- Store marshmallows in an airtight container at room temperature for up to 1 week.
Love this recipe? I’d appreciate it if you could scroll down and add a *5 star rating* to help others know they’ll love it as well!
This post originally appeared in December 2015 and was revised and republished in December 2022.