Ingredients
- 3 quarts filtered, spring or distilled water
- 1/2 cup plus 1 Tbsp. pickling or coarse sea salt
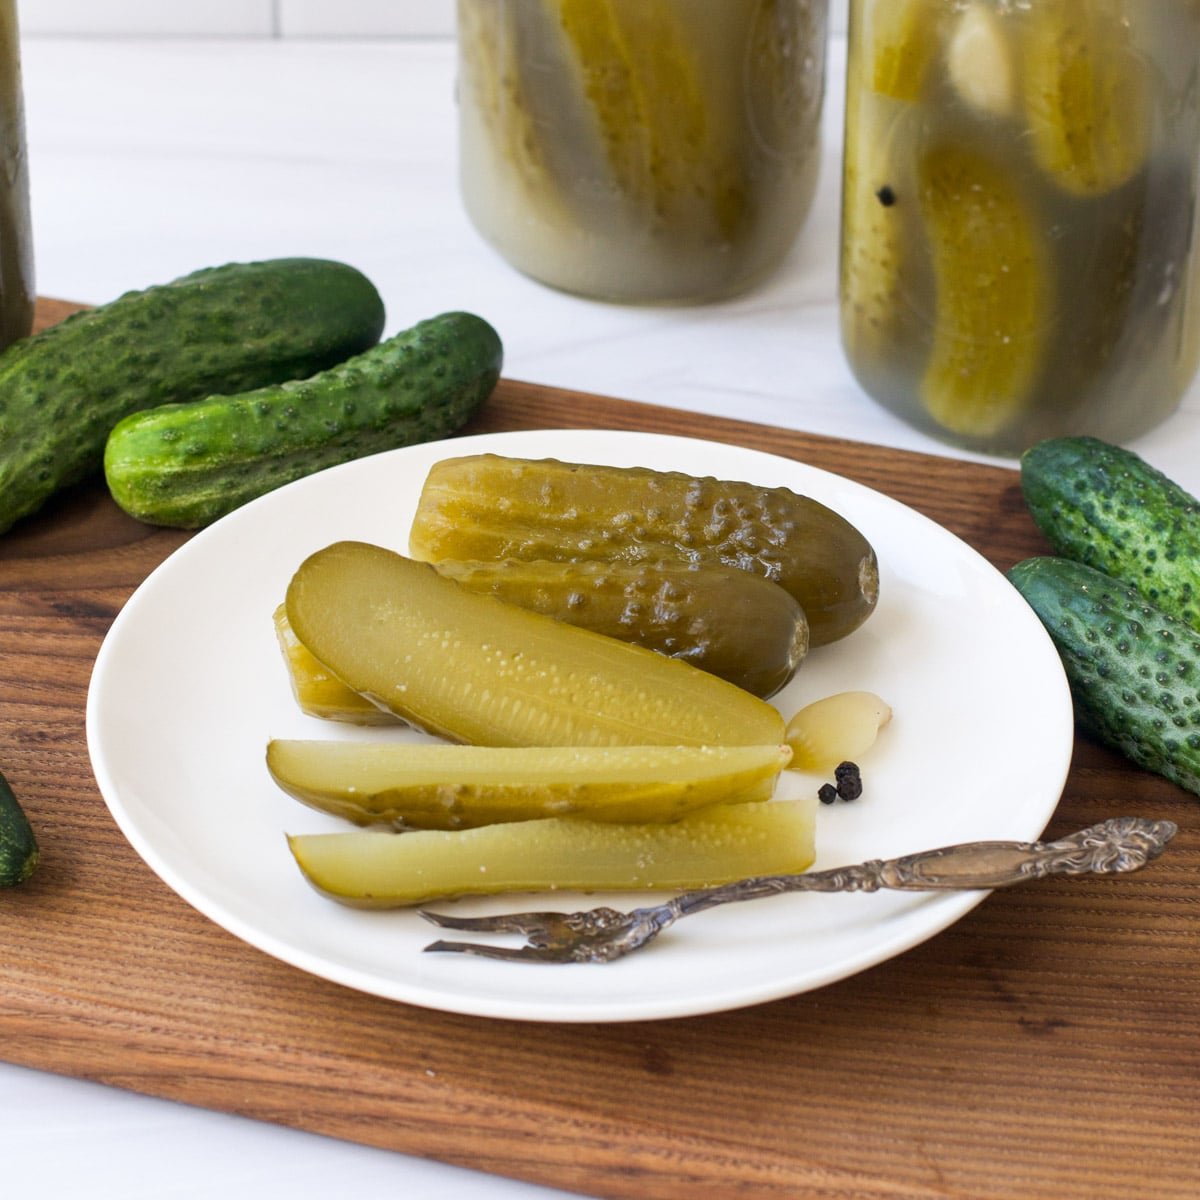
- 4 lbs. pickling or Kirby cucumbers
- 1 head garlic, divided into cloves
- 3 fresh dill heads (or substitute 1 to 2 Tbsp. dill seeds)
- 1 Tbsp. brown mustard seeds
- 1 Tbsp. black peppercorns
- 4 oak or grape leaves (optional)
Instructions
-
To make the pickling brine, place the water and salt in a large saucepan set over medium heat. Heat the water and stir until the salt is completely dissolved. Remove the pot from the heat and allow it to cool to room temperature.
-
Wash the cucumbers and trim off the blossom end, not the end where the stem was. (The blossom end contains an enzyme which can lead to mushy pickles.) Peel and lightly crush the garlic cloves.
-
Combine the cucumbers, garlic, dill heads, mustard seeds and peppercorns in a sterilized gallon-sized container or two half-gallon containers, such as a half-gallon Ball jar. Tuck the oak or grape leaves around the cucumbers. (These contain tannins that will ensure crunchy pickles.)
-
Pour the brine over the cucumbers until they are covered. Make sure that the brine covers the vegetables by a few inches. Reserve any extra brine in case you need to add more later. Use a fermentation weight, small plate or a bowl to keep the cucumbers submerged in the brine.
-
Cover the mouth of the container or containers with several layers of cheesecloth secured by string or a rubber band. Alternatively, you can use an airlock or other lid designed for fermentation. Place the container or containers in a dark, cool (but not cold) place, such as a basement or pantry.
-
Check the pickles daily. The brine should begin to turn cloudy after a few days and you will see bubbles rising to the surface. Make sure that the vegetable remain submerged in brine. If the brine level gets low, add the reserved brine until the vegetables are covered. If you see mold on the surface of the brine, skim it off with a clean spoon. Begin to taste the pickles after 6 days by removing one using a clean utensil. When the pickles no longer taste salty and are pleasantly sour, they are ready. This can take up to two weeks.
-
To store fermented pickles, skim any remaining scum or mold off the surface of the brine. Transfer the pickles to a clean quart jars and cover them with the brine. Keep the pickles refrigerated to prevent further fermentation. The pickles will last in the refrigerator for up to a year.