Homemade Caramel Sauce vs. Store-Bought: Tested!
We’ve discovered that homemade caramel apples are pretty easy to make. Are the kits and store-bought options at all worth it?
We made some homemade caramel apples recently and were surprised by how easy it was. So easy, in fact, that we wondered if any of the store-bought kits or caramel options are worth it to buy. We bought a few different options and did a test. Here’s what we tried and what we learned.
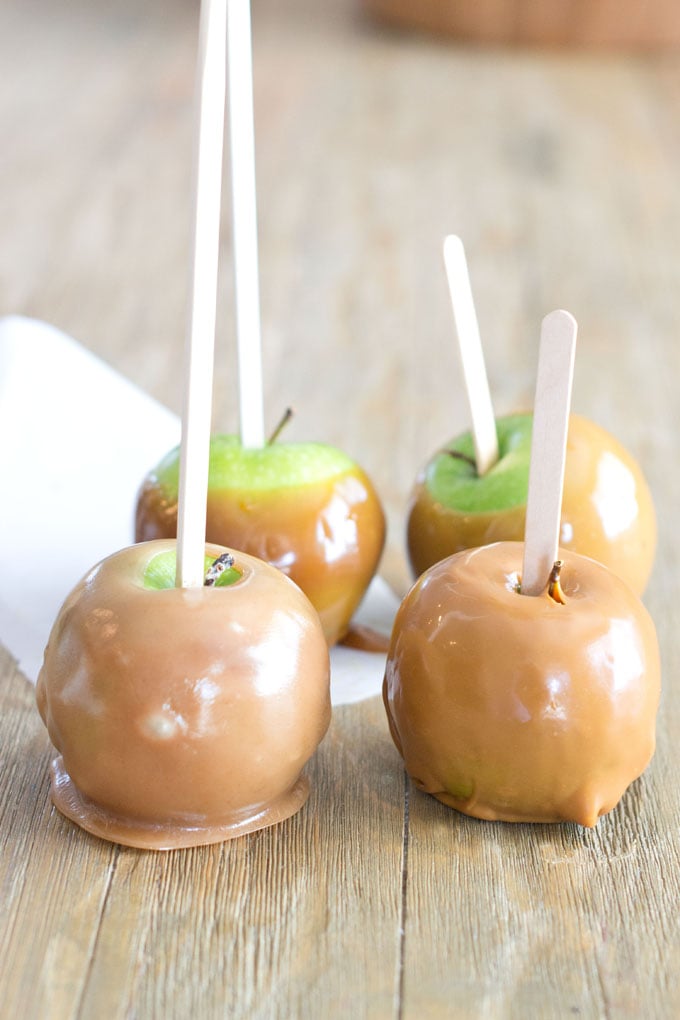
#1 Our Homemade Caramel Apple
Admittedly, the sauce is a bit light. We’ve learned to let it cook a little bit longer since we did that photo shoot. Oh, and using dark corn syrup instead of light corn syrup helps a bit too!
The homemade has a nice flavor and texture and it really is simple to make. It does involve a few ingredients/items that you probably have to buy especially for it though so that is a downfall. You need heavy cream, corn syrup and candy apple sticks (or some kind of stick) and probably a candy thermometer if you don’t already have one. A candy thermometer is not needed with the other options we tried.
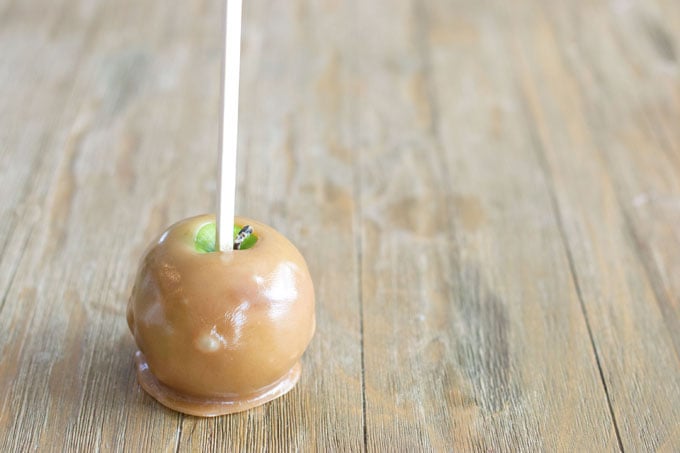
#2: Store-Bought Caramel Sauce
So this was never expected to really work but we gave it a shot. We bought some caramel dip from the produce section of the grocery store.
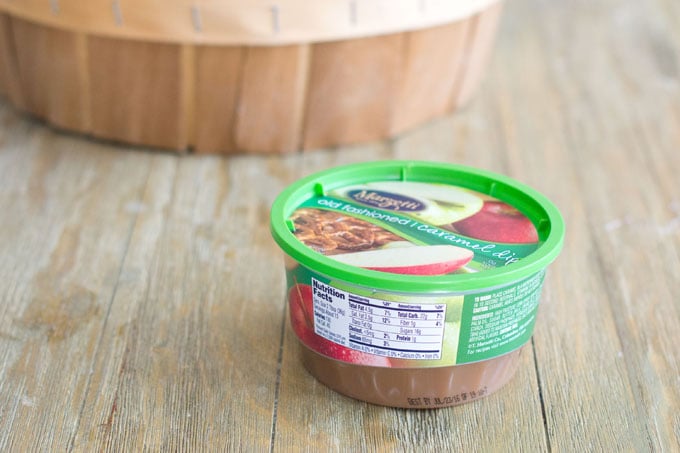
We heated it up in the microwave and dipped in some apples. Then we refrigerated them, hoping that the sauce would firm up a bit.
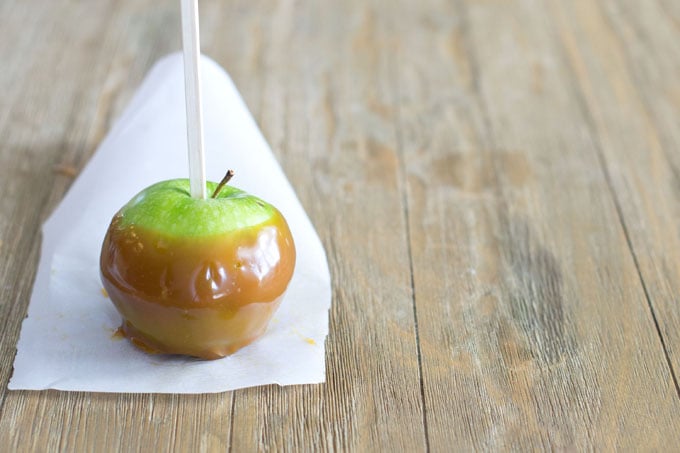
It didn’t.
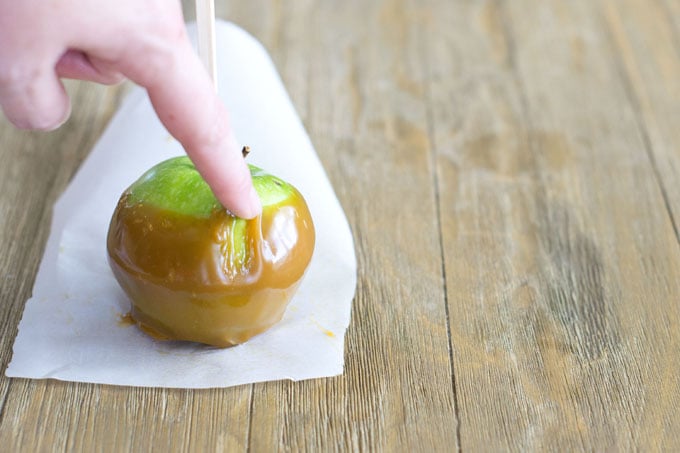
Don’t blame the caramel dip people though. They never said their dip could be used this way. We just thought it was worth a shot. It’s definitely a delicious dip for apple slices or to drizzle over ice cream. Mmmm.
#3 Store-Bought Caramel Candies
Instead of making a homemade caramel sauce, you can buy a bag of caramel candies like this.
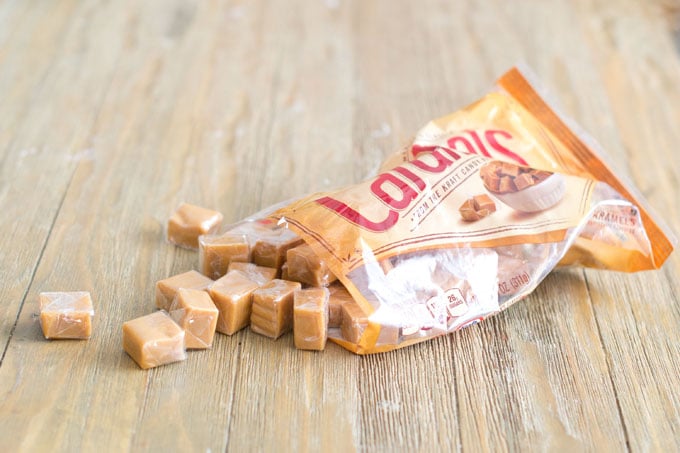
We were worried that they’d take a long time to unwrap. Not too long.
(Yes, I’ve dropped my phone a few times recently. It has since been replaced and I caved in and got a case 🙁 )
Note that there’s a product called Caramel Bits that are the same kind of candy in balls but not wrapped. Getting those would save time but they’re not available everywhere. In fact, I couldn’t find them at my grocery store or any other store near me. You could always order them if you knew ahead of time that you were going to make caramel apples. They’re here.
After unwrapping the candies you put them in a saucepan with 2 tablespoons of water and heat them over medium-low while stirring continuously until they melt. Then dip in your apples and let them harden on a greased parchment paper.
Here’s how it looks when done. Very shiny and nice. (Don’t blame the lopsidedness on the caramel candies. I just thought this apple was too shy, humble and cute-looking to not use it).
Our verdict on caramel candies:
We decided that the caramel candies are actually more involved to use than to make your own caramel sauce. With the homemade, you pour the ingredients into a pot (quick!) and then heat it without stirring until it’s ready. It’s very hands-off.
With the caramel candies, you need to unwrap them all, first of all. As noted, it didn’t take that long. But that bag of candies only makes 5 candy apples. If you needed 10 candy apples, you’d double that unwrapping time. With the homemade caramel, you’d just increase your ingredient amounts.
For the store-bought caramels you also need to stand there stirring the whole time they’re melting. If you don’t, they start to scorch in places. With the homemade, it heats without stirring. You need to be close by, but you can be doing other things like stabbing your apples with sticks.
Having said all that, there are reasons to choose the caramel candies. If you’re only making 5 apples, it’s not that big of a time difference really. Also, it saves you having to buy heavy cream and corn syrup, which you may not have. You do still need to buy sticks since those aren’t included. Finally, you do not need a candy thermometer for this method. So that’s a bonus if you don’t own one.
We were pleased with the results from the caramel candies so if you go that route, you totally have our blessing.
#4 Caramel Apple Wraps
Caramel Apple Wraps are a product on the market that are specifically designed for making caramel apples. They’re very convenient and simple to use. The result is satisfactory.
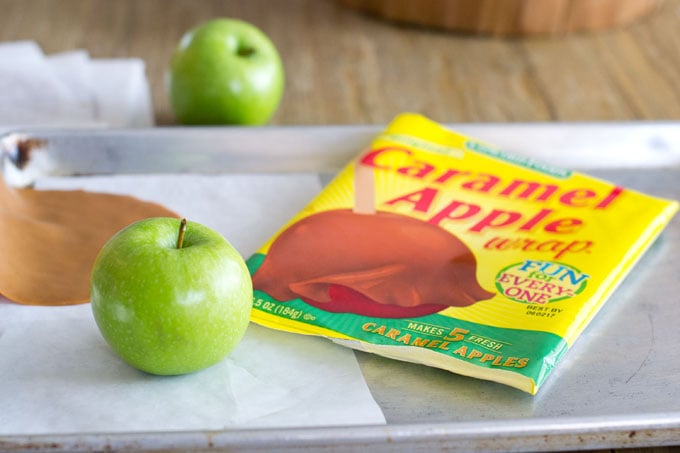
The kit makes 5 caramel apples. It includes popsicle sticks, which is a bonus because many grocery stores only carry these in the summer months. That saves you a trip to a craft store.
The kit also comes with 5 discs of caramel, separated by parchment paper. The discs will go on your apples (we’ll show you how in a second) and the parchment gets used as the parchment on the baking sheet so that your apples don’t stick to the pan. That’s a bonus as well.
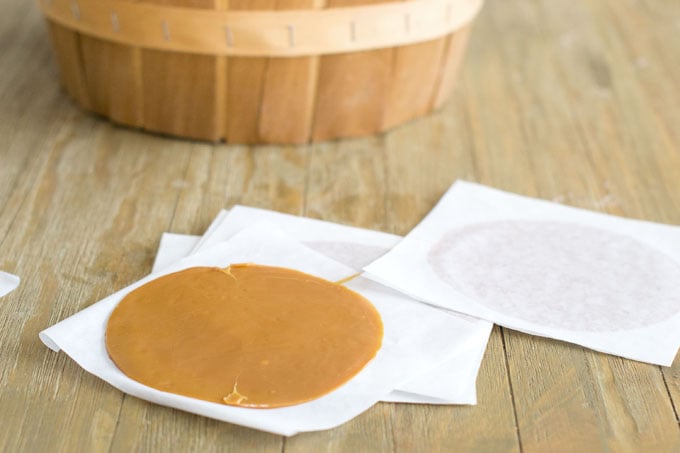
How to use caramel apple wraps:
Preheat your oven to 200ºF. Put the caramel wraps in the fridge for 1 minute before you start. This makes them firm up enough to peel easily off of the parchment. Then you peel off the parchment and lay it on the baking sheet. Put an apple on the parchment stem-side-up. Top it with the caramel disc.
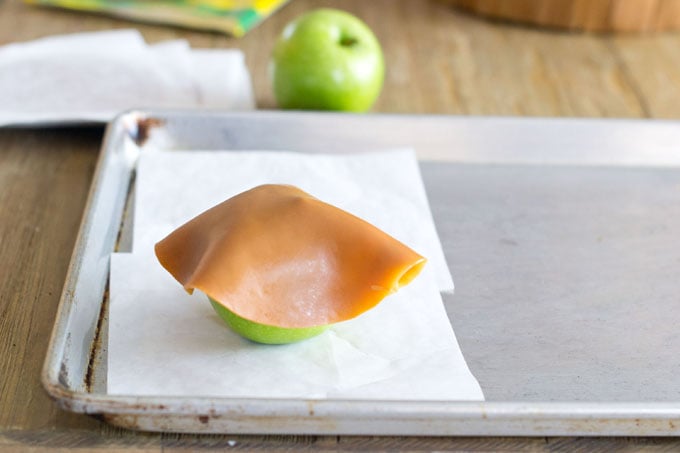
Use your fingers to pull the caramel around the apple. I found it easiest to flip the apple over and pull the caramel up.
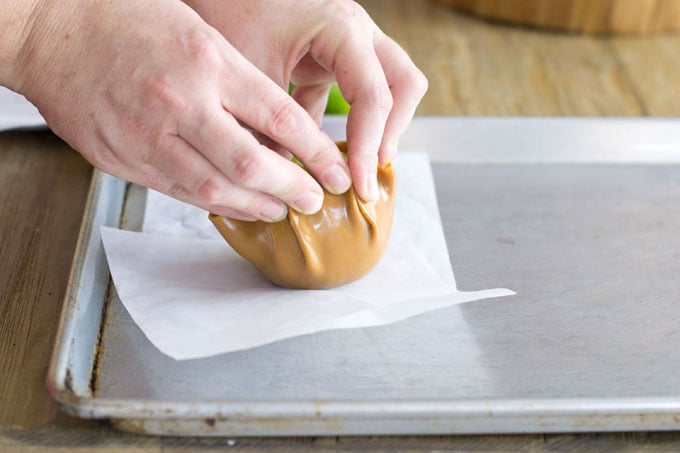
Flip the apple back over. Now it has a caramel coating.
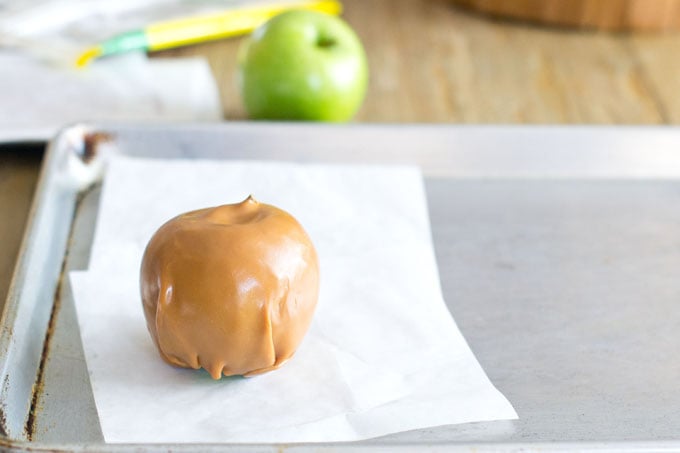
Insert the stick in the top.
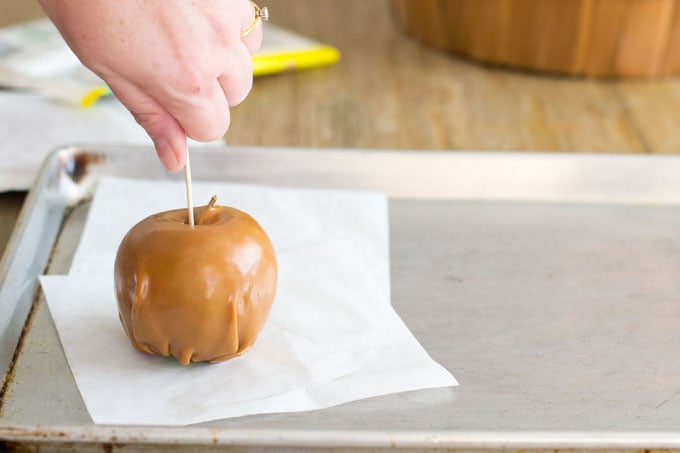
Repeat with remaining apples. Bake for 5 minutes. Note that there is an alternative microwave method that has you heat 1-2 apples at a time for 15-25 seconds. This seemed more annoying with all the in and out of the microwave. We preferred the oven method.
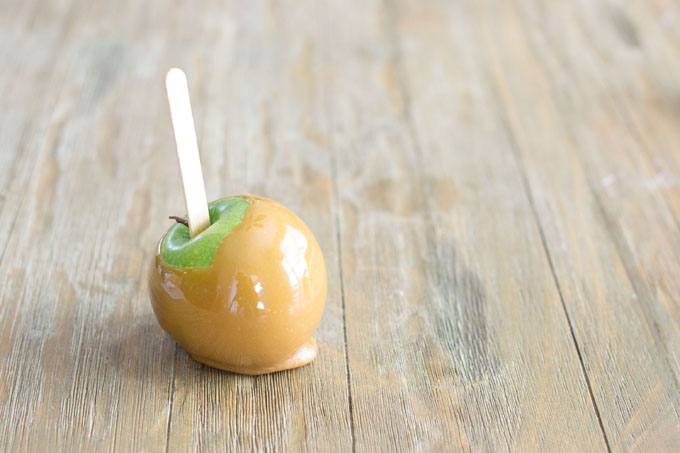
And this is what you get.

Our verdict on caramel apple wraps:
They’re a nice color and shiny. We never got great at making the wrap smooth around the apple and the baking didn’t fix that really.
In terms of taste and texture. These tasted good. The caramel coating was a bit thicker than the other apples, which we didn’t like. And the coating never really hardened as much as the others. It stayed a bit on the gooey side.
The upshot with these is that they’re super-easy to use. In fact, I bought an extra packet after this experiment to have on hand for a rainy day project to do with the kids. I don’t need any special ingredients or anything, other than the kit and apples. It’s therefore great for that. But if I was doing a bunch of candy apples for a party, it would not be my method of choice. The result just isn’t isn’t as good as the homemade or the caramel candies.
Conclusion
In general, we prefer the homemade caramel sauce, especially if making a larger batch of caramel apples (more than 5). Next, the caramel candies do a great job but only if you’re planning to make 5 apples or less. If you’re doing more, the time it takes to unwrap the candies would be super-annoying.
The Caramel Apple Wraps are a nice convenience to have on hand for a rainy day treat but are not the best-tasting or best-looking option.
This post originally appeared in October, 2015 and was revised and republished in September, 2016.




Mm delicious, this turned out just right. Thanks for sharing.
Simon
Love this post. You and I are twins from different mothers. Like you, I’m always interested in comparing different ways of doing things and different products. (E.g.I have blogposts about whether brown eggs are better than white ones, and whether fresh shrimp are better than frozen.) This post provides really good comparisons – and on a subject near and dear to my heart – candy apples:)