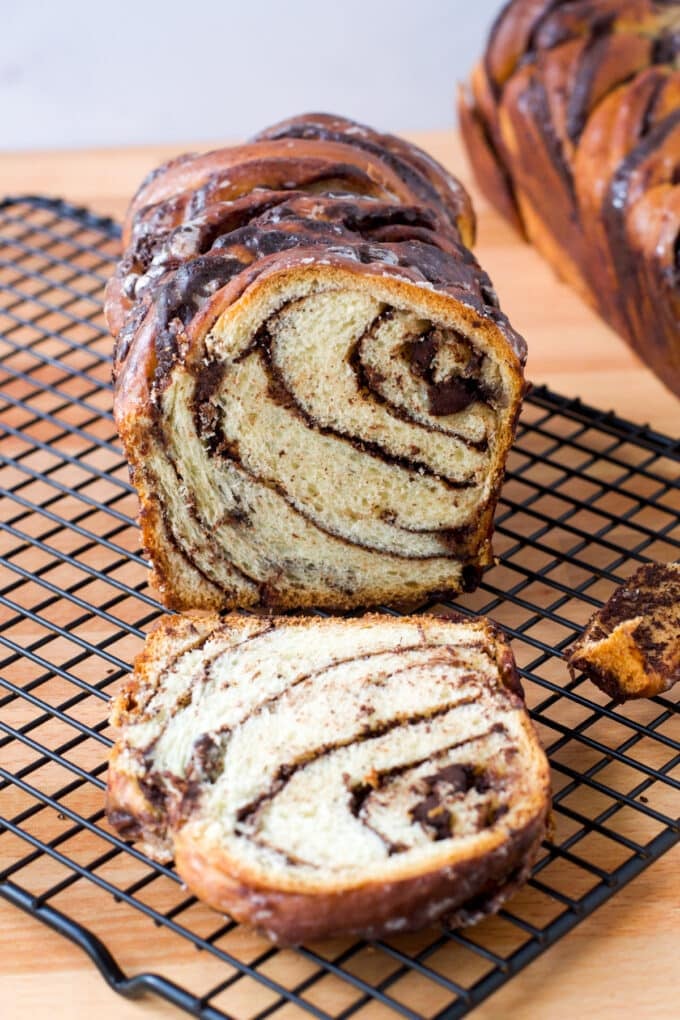
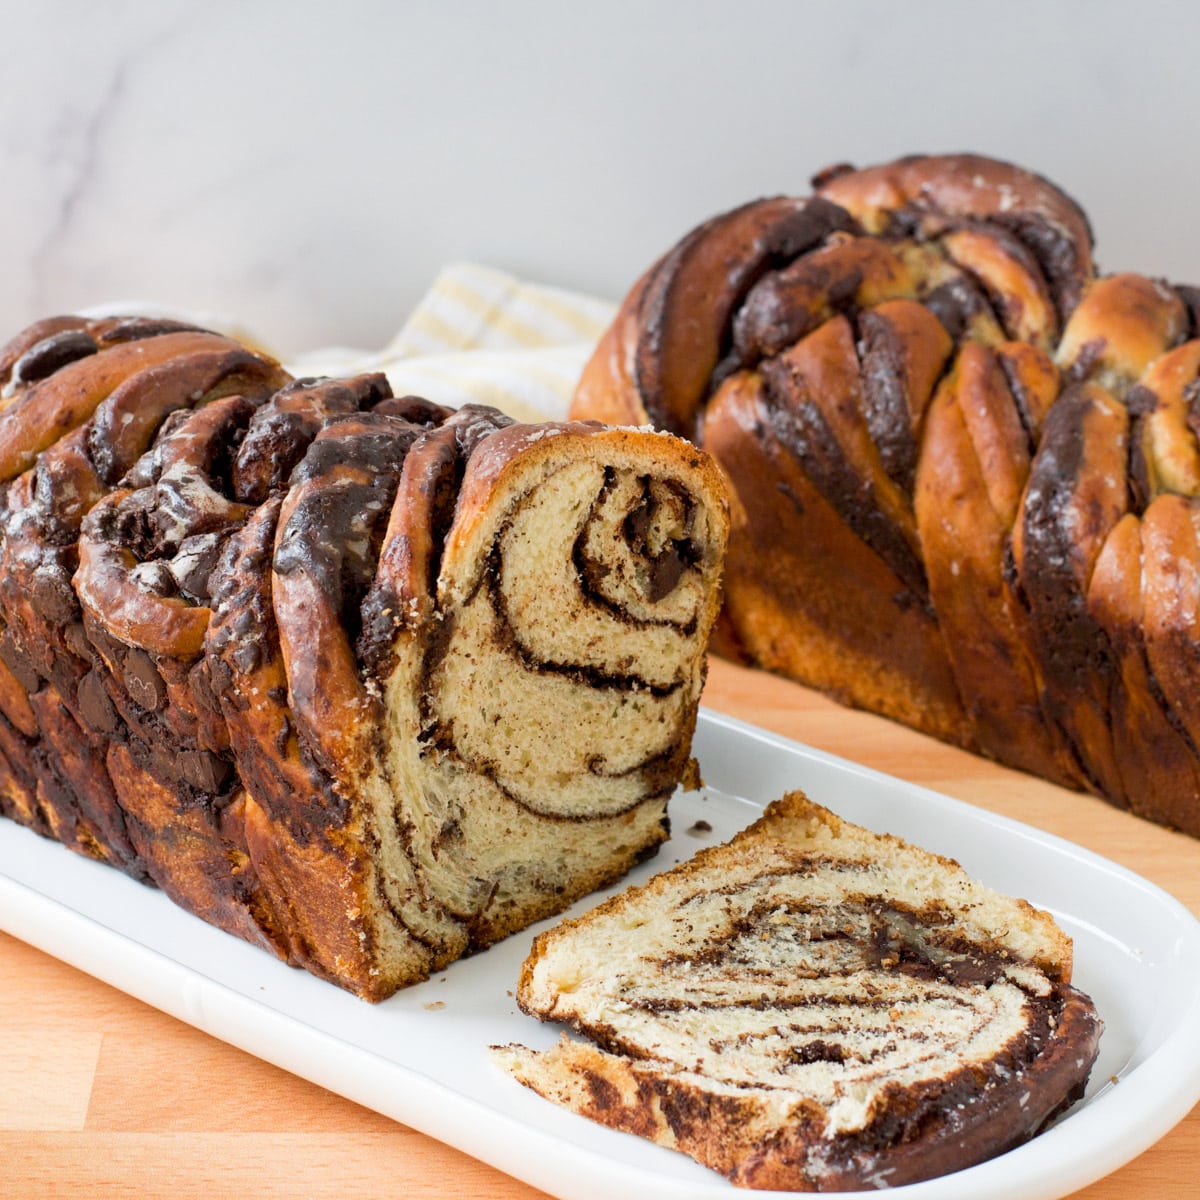
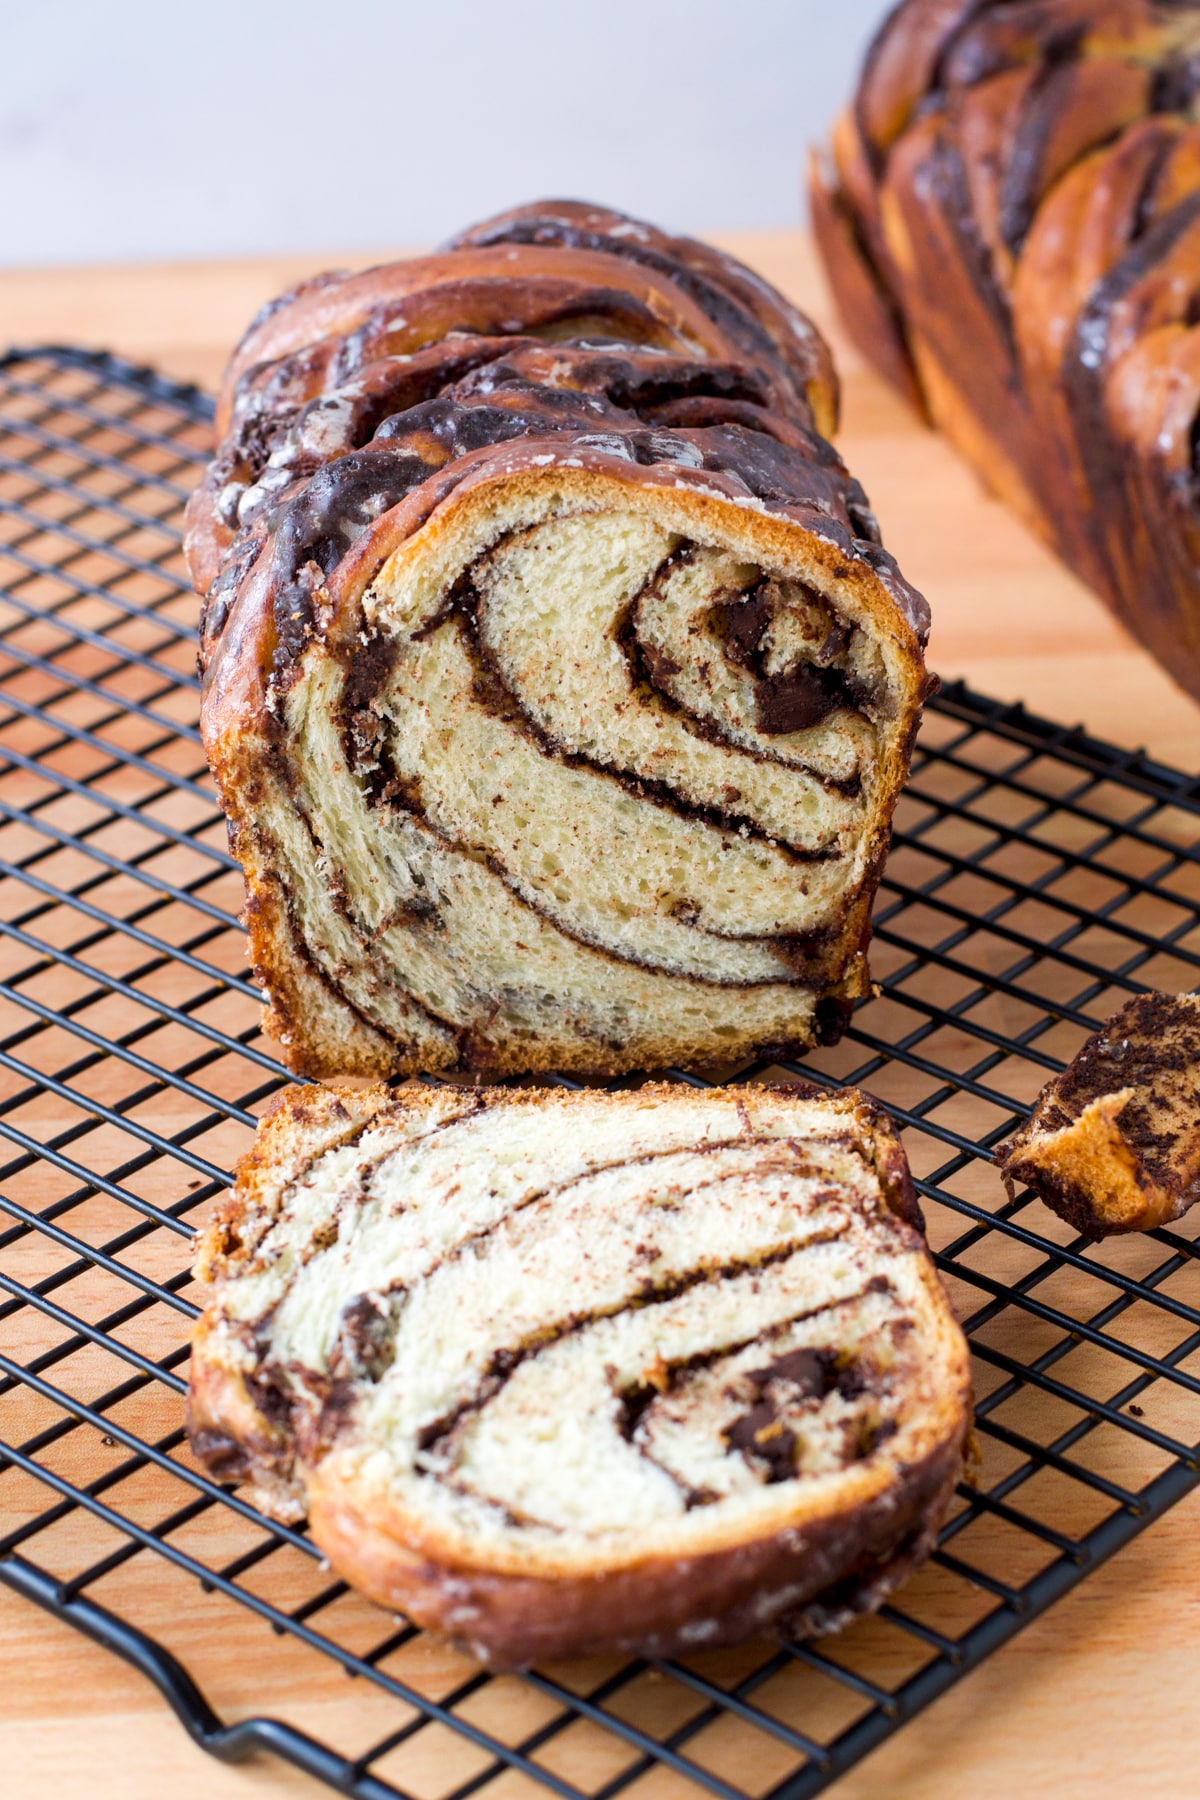
Chocolate Babka, a Jewish bakery favorite, is a sweet dessert bread with swirls of chocolate through it. Make it at home!
A cross between a cake and a bread, chocolate babka is one of the most iconic and eye-catching Jewish baked goods. This yeast-risen loaf is a bit of a project to make, but the results are simply out of this world.
Follow my step-by-step instructions to learn to make this gorgeous, chocolatey treat at home. This recipe makes two loaves. So you can keep one and give one away or simply freeze the second loaf for another occasion.

What Is Babka?
Babka was a relatively obscure Jewish bakery treat until a 1994 episode of “Seinfeld” catapulted this sweet, yeasted bread swirled with chocolate – or less famously cinnamon – to fame. In 2013, Israeli baker Uri Scheft opened Breads Bakery in New York. His stunning chocolate babka, filled with Nutella and chocolate chips, became so popular that it is now a bona fide New York culinary icon. Babka’s emergence as a treat known outside the Jewish community solidified in 2016 when Bon Appétit magazine declared babka “the new bagel.” That is, the next Jewish food to go mainstream.
Babka, which means “little grandmother” in Polish, originated in what is today Poland and Ukraine. At first, babka was made with the same dough that housewives used to make their challah, the sweet, eggy bread enjoyed on the Jewish Sabbath. These early versions were filled with cinnamon, jam, and raisins rather than chocolate, which was only eaten by the wealthy in Europe at that time.
Like so many other beloved Jewish foods, babka came to America with the waves of eastern European Jewish immigrants at the end of the 19th and beginning of the 20th centuries. At some point, probably the mid-twentieth century, Jewish bakers started filling their babka with chocolate to appeal to American tastes and that became the new standard.
Today, babka is a very popular dessert in Israel as well. There it is known as a Krantz cake and the dough is laminated, like a croissant dough.
How To Make Chocolate Babka
In America, we make our babka with an enriched, yeast dough. That means that the leavening agent used is yeast, not baking soda or baking powder, and the dough is very rich and sweet with lots of butter, eggs, and sugar. These ingredients retard the yeast, making the dough rise more slowly than a simpler dough would. This is one of the reasons that making a babka can turn into a multi-day project.
Make The Dough
To make the babka dough, start by mixing flour, sugar, and yeast with warm milk and then gradually add the eggs. The final step before kneading is to incorporate the butter, a little bit at a time, into the dough. This takes several minutes, but do not rush it. Once all the butter is mixed in, knead the dough until it is smooth and glossy.
I actually recommend allowing your babka dough to do a nice, slow rise in the refrigerator. Give it at least six hours and up to one day in the fridge. This not only breaks the work up over two days, but it is also will give your babka dough better flavor and make it easier to work with. If you absolutely must, you can make the babka dough on the same day you plan to bake it. Just let the dough rise in a warm place for one hour to 90 minutes.
Fill And Shape The Loaves
Once the dough has risen, it is time to fill the loaves and shape them. To make the chocolate filling, you mix melted chocolate, cocoa powder, butter, and powdered sugar to create a smooth, spreadable paste. Some recipes call for a chocolate filling that includes nuts or a nut-based spread like Nutella or almond paste. Like many families, my family has someone with a nut allergy, so I always make my babka filling without nuts or nut-based products. If you like Nutella or other nut-based spreads, feel free to experiment with those as well!
Of course, babka does not even have to be filled with chocolate. Jam, cinnamon, poppy seeds, sweetened cream cheese and dulce de leche can all be used to make different types of babka. Once you get comfortable with chocolate babka, you may want to branch out and try some of these different varieties.
The way to create the swirled look of chocolate babka is actually easier than you might think. Basically, you roll the dough out into a rectangle and spread the chocolate filling over the dough. Then, you roll up the dough into a log and slice it lengthwise down the middle to expose the filling. The two halves are then twisted together into a plait and this twisting will create the swirls of dough and chocolate that you expect from a good babka. Can’t visualize it? Check out this video to see it done.
Once the babka loaves are formed, put them into your greased 9×5 loaf pans to rise a second time. This second rise can just happen on the kitchen counter and should take about an hour. If however you are trying to spread the work out over several days, you can also cover the loaves and allow them to rise overnight in the refrigerator.
Bake The Babka
After the second rise, it is time to bake the babka. These loaves are dense so it can take as long as an hour for them to bake through.
While the loaves are baking, you will prepare a sugar syrup. This will get brushed on the loaves when they come out of the oven. The warm loaves will absorb the syrup and this will make them deliciously moist and sticky. Do not skip this step and use only some of the syrup! Soaking the babka with the syrup is a key part of the enterprise.
Can I Freeze Babka?
Most babka recipes, including this one, make two loaves. The method used to make the babka dough doesn’t work as well in smaller amounts, so that is why nearly every babka recipe you see produces two loaves.
If two loaves are more than you need, simply wrap the second loaf well and freeze it as soon as it cools to enjoy another day. It is actually nice that a project as involved as this one produces a loaf to enjoy today and one to enjoy in the future!
Even if you are not used to working with yeast, I hope you will give this babka recipe a try. It is a forgiving project and the results are guaranteed to impress your friends and family.
My recommendation is to plan ahead and spread out the work of making the babka over two days to minimize stress and ensure a tender, chocolatey babka that is worth all the work!
Podcast Episode: Making Chocolate Babka
Listen to our editor, Christine Pittman, explain briefly about how to make this recipe, with some great tips along the way, by clicking the play button below:
Listen to more Recipe of the Day episodes here.
Print
Chocolate Babka
To freeze one or both of the loaves, let the loaf cool completely. Then, wrap it first in plastic wrap and next in aluminum foil. Freeze the babka for up to one month.
- Prep Time: 20 minutes
- Rest Time: 2 hours
- Cook Time: 1 hour
- Total Time: 3 hours 20 minutes
- Yield: 2 loaves 1x
- Category: Dessert
- Method: Baked
- Cuisine: Jewish
Ingredients
- 5 cups all-purpose flour
- 1/2 cup sugar
- 1 packet (1/4 oz.) instant or fast-rising yeast
- 1 tsp. fine sea salt
- 1 cup milk heated to 120 degrees
- 3 eggs at room temperature
- 1 tsp. vanilla extract
- 10 Tbsp. unsalted butter, softened
Filling:
- 8 Tbsp. (1 stick) unsalted butter
- 4 oz. bittersweet or semisweet chocolate (at least 60% cocoa solids)
- 3/4 cup powdered sugar
- 1/3 cup cocoa powder
Syrup:
- 1/3 cup water
- 3/4 cup sugar
- 1/2 to 1 tsp. optional flavoring (orange blossom water, rose water, vanilla extract, or fruit-flavored liqueur)
Instructions
- Place the flour, sugar, yeast, and salt in the bowl of a stand mixer fitted with the paddle attachment. Add the warm milk and mix until a shaggy dough forms.
- Add the eggs one at a time, followed by the vanilla extract, scraping down the sides as necessary. With the motor running, add the butter one tablespoon at a time until it is fully incorporated. (This may take a few minutes. Be patient.)
- Switch to the dough hook and knead, periodically scraping down the sides and turning up the dough at the bottom of the bowl. Continue kneading until the dough is smooth and shiny, about 10 minutes. (You can also knead the dough by hand at this point.)
- Place the dough in a well-oiled bowl, cover, and let rise in a warm place until it is puffy and has expanded by 50%, 1 hour to 90 minutes. If time permits, a slow rise in the refrigerator is preferable: place the covered bowl with the dough in the refrigerator and allow it to rise for at least six hours, or overnight up to 24 hours. (This method will result in better flavor and a more manageable dough.)
- When the dough has risen and you are ready to fill and shape the babka, grease and flour two 9×5 loaf pans. To prepare the chocolate filling, combine the butter and chocolate in a small saucepan and place them over low heat until both have melted. Remove from heat and set aside.
- Sift the powdered sugar and cocoa powder together into a small bowl. Add the melted butter and chocolate mixture and stir until you have a smooth paste. Set aside while you roll out the dough.
- Divide the risen dough in half. Wrap the half that you are not using in plastic and refrigerate it until needed. Place the first dough half on a lightly floured board and roll out to a rectangle of approximately 15×11 inches. Place half of the chocolate filling on top of the dough and use an offset spatula to spread a thin layer of the filling all the way to the edges.
- Starting with the long end, roll the dough into a tight jellyroll and pinch the ends closed. Trim off a small piece from either end and discard. Using a serrated knife, cut the roll down the middle lengthwise to expose the filling. Turn the two halves on their backs so that the cut side is facing up. Pinch the two ends together and lift the right half over the left half. Then lift the left half over the right half. Repeat until the entire loaf is twisted. Carefully transfer the twisted dough to the greased loaf pan. Repeat the process with the second half of the dough and the remaining chocolate filling.
- Cover the loaves with a clean tea towel and allow to rise in a warm place until increased in size by 10 to 20%, 40 minutes to one hour. Preheat the oven to 350°F.
- Once the loaves have risen for the second time, bake them in the oven for 50 to 60 minutes until a skewer inserted in the middle comes out clean. (If the top begins to brown excessively before the inside is fully baked, cover the top with foil.)
- While the loaves are baking, make the syrup. Combine the water, sugar and additional flavoring, if using, in a small saucepan and bring to a boil, stirring to dissolve the sugar. Remove from heat and allow the syrup to cool.
- Once the loaves are baked, remove them to a cooling rack. While the loaves are still warm and in the pans, brush the syrup over the tops and sides. (If syrup begins to pool on top, wait five minutes for it to absorb and then add the remaining syrup.)
- Allow the loaves to cool completely before removing from the pans.
- Serve warm or at room temperature.


Leave a Reply