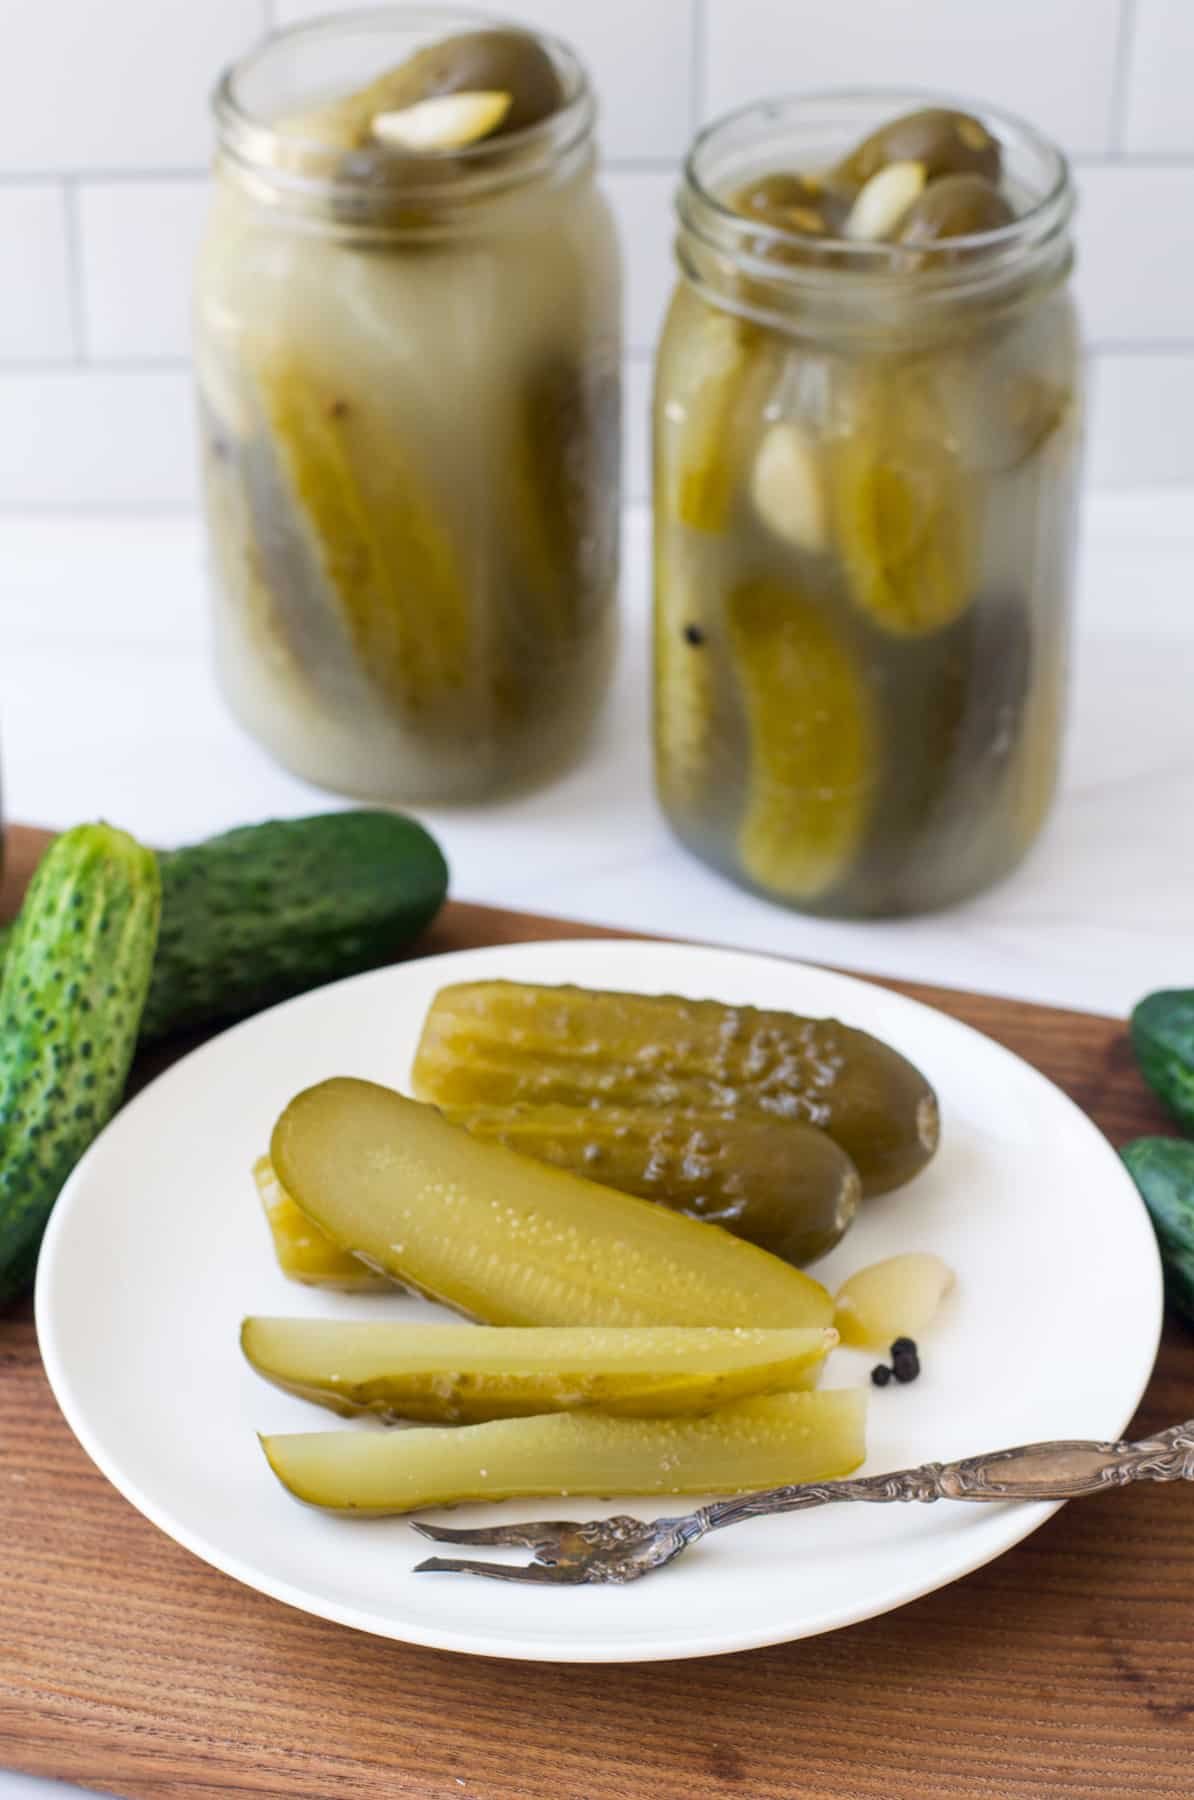
How to Make Kosher Dill Pickles
Learn to make traditional kosher dill pickles – just you like you find at a Jewish deli – using the ancient yet approachable technique of fermentation.
For centuries, fermented or pickled vegetables have been staples of Jewish cuisine. In an era before refrigeration, fermentation was an easy and inexpensive way to preserve vegetables for the long winter. The tanginess of fermented foods, or sours as they were called, also added interest to an otherwise bland wintertime diet. The main vegetables that Jewish women in Eastern Europe and Russia pickled using fermentation were cucumbers, carrots, beets, and cabbage.
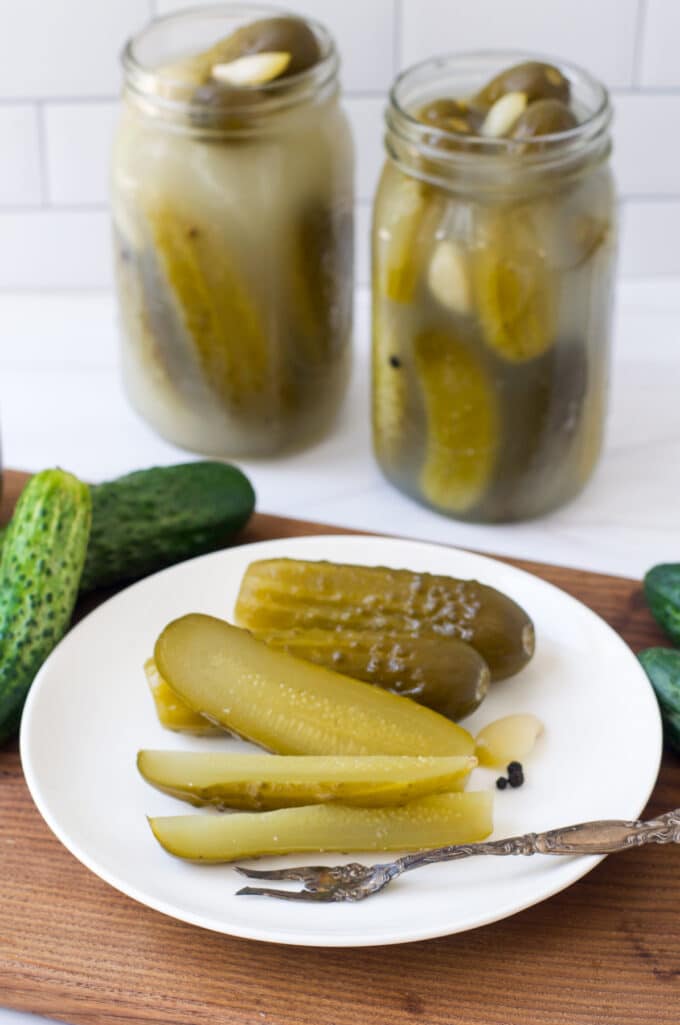
Jewish Tradition Of Fermenting
When Jews began emigrating to America in large numbers the late 19th and early 20th centuries, they brought their tradition of fermenting vegetables with them. Once these Jewish families began living in cities – not in rural villages as they did in Europe – they started buying their beloved pickles from street vendors or delis rather than making them themselves.
Today, a tangy, fermented kosher dill pickle is an essential part of the Jewish deli experience. A corned beef or pastrami sandwich just isn’t the same without a crunchy, sour pickle on the side. Also, there has been a renewed interest in fermentation because we have rediscovered how healthy, as well as delicious, fermented foods are.
Luckily, it is very easy to begin fermenting at home. This recipe for a classic deli-style fermented cucumber is a terrific entry into the world of fermentation and makes a delicious pickle that is perfect for snacking, serving whole alongside a sandwich, or slicing and adding to a burger or hot dog.
Let’s quickly review how the fermentation process works and what equipment you will need to make these fermented kosher dill pickles at home.
Why Ferment?
Fermentation is a very healthy practice. Fermenting preserves vegetables raw, so they retain all of their vitamins and minerals. The fermentation process actually enhances B and C vitamins, makes nutrients more easily absorbed by our bodies, supports the immune system and aids in digestion.
Also, fermented foods like these kosher dill pickles are tangy, crunchy and delicious!
How To Ferment Veggies
To ferment vegetables, you must submerge them in a salt-water brine and then leave them out at room temperature for a week or two. The brine attracts naturally occurring good bacteria, otherwise known as probiotics. These bacteria turn the vegetables’ sugars into lactic acid, creating a tangy flavor, and preventing spoilage by creating an anaerobic, or no-oxygen, environment.
Thus, the first step of the process is to make the brine, which is nothing more than salt dissolved in water. Having the correct ratio of salt to water is critical for fermentation to take place. Too little salt and the brine will not attract the probiotics that are needed. Too much salt and the cucumbers will ferment too quickly, which makes them mushy and they will taste salty, not sour and tangy. In terms of which salt to use, look for a salt that is additive-free, such as kosher salt or sea salt. The kind of water that you use matters as well. The chlorine in tap water can inhibit fermentation, so use filtered, spring, or distilled water.
The second important factor after the brine is temperature. During the fermentation process, the pickles need to be kept in a dark, cool place, like a basement or pantry, that is between 65 and 75 degrees. Do not refrigerate them! If the environment is too cold, fermentation cannot take place. If it is too warm, the fermentation process will go too quickly which can lead to excessive mold or yeast growth. Luckily, most of our houses are already at the right temperature for fermenting.
The last factor required for fermentation is time. It can take as long as two weeks for the cucumbers to ferment and turn into pickles. How do you know that fermentation is happening? There should be visual clues such as the brine turning cloudy and bubbles. A strong smell is another sign of fermentation. The process will be slower in a colder spot and quicker in a warmer one.
Begin tasting the pickles after a few days or a week. If they taste salty, give them more time to continue fermenting. When the pickles taste sour and tangy and to your liking, they are done and ready to eat! At that point, move your pickles to the refrigerator to stop the fermentation process and for long-term storage.
Trouble-Shooting Homemade Pickles
Making kosher dill pickles using this method is pretty straightforward and hands-off, but you can run into problems if you are not diligent. Make sure that the cucumbers are submerged in the brine at all times and if the brine level goes down, add more. Check your pickles for mold or yeast daily while they are fermenting and, if you see any, skim it off the surface of the brine. The most common form of yeast that may form on your fermented pickles is Kahm yeast which looks like a white film. It’s harmless, but it can add an unpleasant taste, so simply skim it off. A small amount of mold growth along the jar rim is also normal. Just wipe it off.
Some people find that their homemade pickles turn out mushy, not crisp and crunchy as they want them to. There are two ways to prevent this. First, be sure to trim off the blossom end of the cucumbers, which contain an enzyme that can make your pickles mushy. Second, add a leaf that contains tannins, like oak or grape leaves, to the jar with the pickles to encourage crispness. You can use oak leaves that come from trees in your area, but wash them first to remove dirt and pollutants.
Do I Need Special Equipment?
You do not need a lot of special or expensive equipment to ferment cucumbers but investing in a few, basic items will make the process easier. Luckily, with the rise in interest in fermentation, there are now many products on the market designed just for this purpose. First, you need something to ferment the pickles in. I recommend half-gallon or quart-sized, wide-mouth Ball jars, which are inexpensive and easy to find. To keep the cucumbers submerged in the brine, you can purchase glass fermentation weights which are designed to fit into jars of this size.
It is important to cover your pickles while they are fermenting to keep out dirt or other contaminants. That being said, when the pickles are fermenting, they release carbon dioxide, so you need to cover the pickles in a way that also allows the gas to escape. Airlock fermentation lids – often called “pickle pipes” – are useful for this because they can help minimize odors and prevent mold growth as well as keep out dirt and bugs. Or, keep it simple and use cheesecloth to cover the jar while the pickles are fermenting, which works perfectly well. Many of these products are available online or even in kits for beginning fermenters.
Fermented Versus Vinegar Pickles
One important thing to keep in mind is that this recipe is for fermented cucumber pickles, which is the traditional method for making these kind of pickles. You can also make pickled cucumbers using a vinegar-based brine and can them for shelf-stability. That is a different method of preservation and results in a different type of pickle. Vinegar pickles are delicious as well, but note that these pickles contain no vinegar at all and once the pickles have fermented, they are not shelf-stable, but need to be stored in the refrigerator.
If you’re short on time, you can also try these Quick Pickles that are ready in as little as 30 minutes. They aren’t the same as these kosher dill pickles, but they do have dill and garlic in them as well.
Why Kosher Dills?
You may also be asking yourself why this type of pickle is known as a kosher dill. The dill part is obvious – the recipe calls for dill heads or seeds to give the pickles that classic dill flavor. The “kosher” part of the name has nothing to do with the Jewish dietary laws or even the type of salt used. Rather, the term kosher in this context refers to the use of garlic as a flavoring. In the early 20th century, the use of garlic as an ingredient was so associated with Jewish people that a kosher dill pickle simply means one that includes garlic.
Now you are ready to make your own deli-style kosher dill pickles at home. I hope that you enjoy learning this new kitchen skill and are inspired to learn more about fermentation.
More Classic Jewish Recipes
And if you want more great pickle flavor, try Air Fryer Fried Pickles or Pickle Fried Chicken.
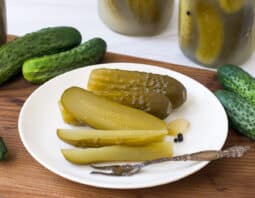
Kosher Dill Pickles
- Prep Time: 20 minutes
- Fermentation: Up to 2 weeks
- Cook Time: 10 minutes
- Total Time: 30 minutes + fermentation
- Yield: About 2 quarts 1x
- Category: Side Dish
- Method: Fermentation
- Cuisine: Jewish
DESCRIPTION
Learn to make traditional kosher dill pickles – just you like you find at a Jewish deli – using the ancient yet approachable technique of fermentation.
Ingredients
- 3 quarts filtered, spring or distilled water
- 1/2 cup plus 1 Tbsp. pickling or coarse sea salt
- 4 lbs. pickling or Kirby cucumbers
- 1 head garlic, divided into cloves
- 3 fresh dill heads (or substitute 1 to 2 Tbsp. dill seeds)
- 1 Tbsp. brown mustard seeds
- 1 Tbsp. black peppercorns
- 4 oak or grape leaves (optional)
Instructions
-
To make the pickling brine, place the water and salt in a large saucepan set over medium heat. Heat the water and stir until the salt is completely dissolved. Remove the pot from the heat and allow it to cool to room temperature.
-
Wash the cucumbers and trim off the blossom end, not the end where the stem was. (The blossom end contains an enzyme which can lead to mushy pickles.) Peel and lightly crush the garlic cloves.
-
Combine the cucumbers, garlic, dill heads, mustard seeds and peppercorns in a sterilized gallon-sized container or two half-gallon containers, such as a half-gallon Ball jar. Tuck the oak or grape leaves around the cucumbers. (These contain tannins that will ensure crunchy pickles.)
-
Pour the brine over the cucumbers until they are covered. Make sure that the brine covers the vegetables by a few inches. Reserve any extra brine in case you need to add more later. Use a fermentation weight, small plate or a bowl to keep the cucumbers submerged in the brine.
-
Cover the mouth of the container or containers with several layers of cheesecloth secured by string or a rubber band. Alternatively, you can use an airlock or other lid designed for fermentation. Place the container or containers in a dark, cool (but not cold) place, such as a basement or pantry.
-
Check the pickles daily. The brine should begin to turn cloudy after a few days and you will see bubbles rising to the surface. Make sure that the vegetable remain submerged in brine. If the brine level gets low, add the reserved brine until the vegetables are covered. If you see mold on the surface of the brine, skim it off with a clean spoon. Begin to taste the pickles after 6 days by removing one using a clean utensil. When the pickles no longer taste salty and are pleasantly sour, they are ready. This can take up to two weeks.
-
To store fermented pickles, skim any remaining scum or mold off the surface of the brine. Transfer the pickles to a clean quart jars and cover them with the brine. Keep the pickles refrigerated to prevent further fermentation. The pickles will last in the refrigerator for up to a year.
